
This guide outlines the process for creating a personalized digital business card within the 1Me mobile app.
Step-by-Step Instructions
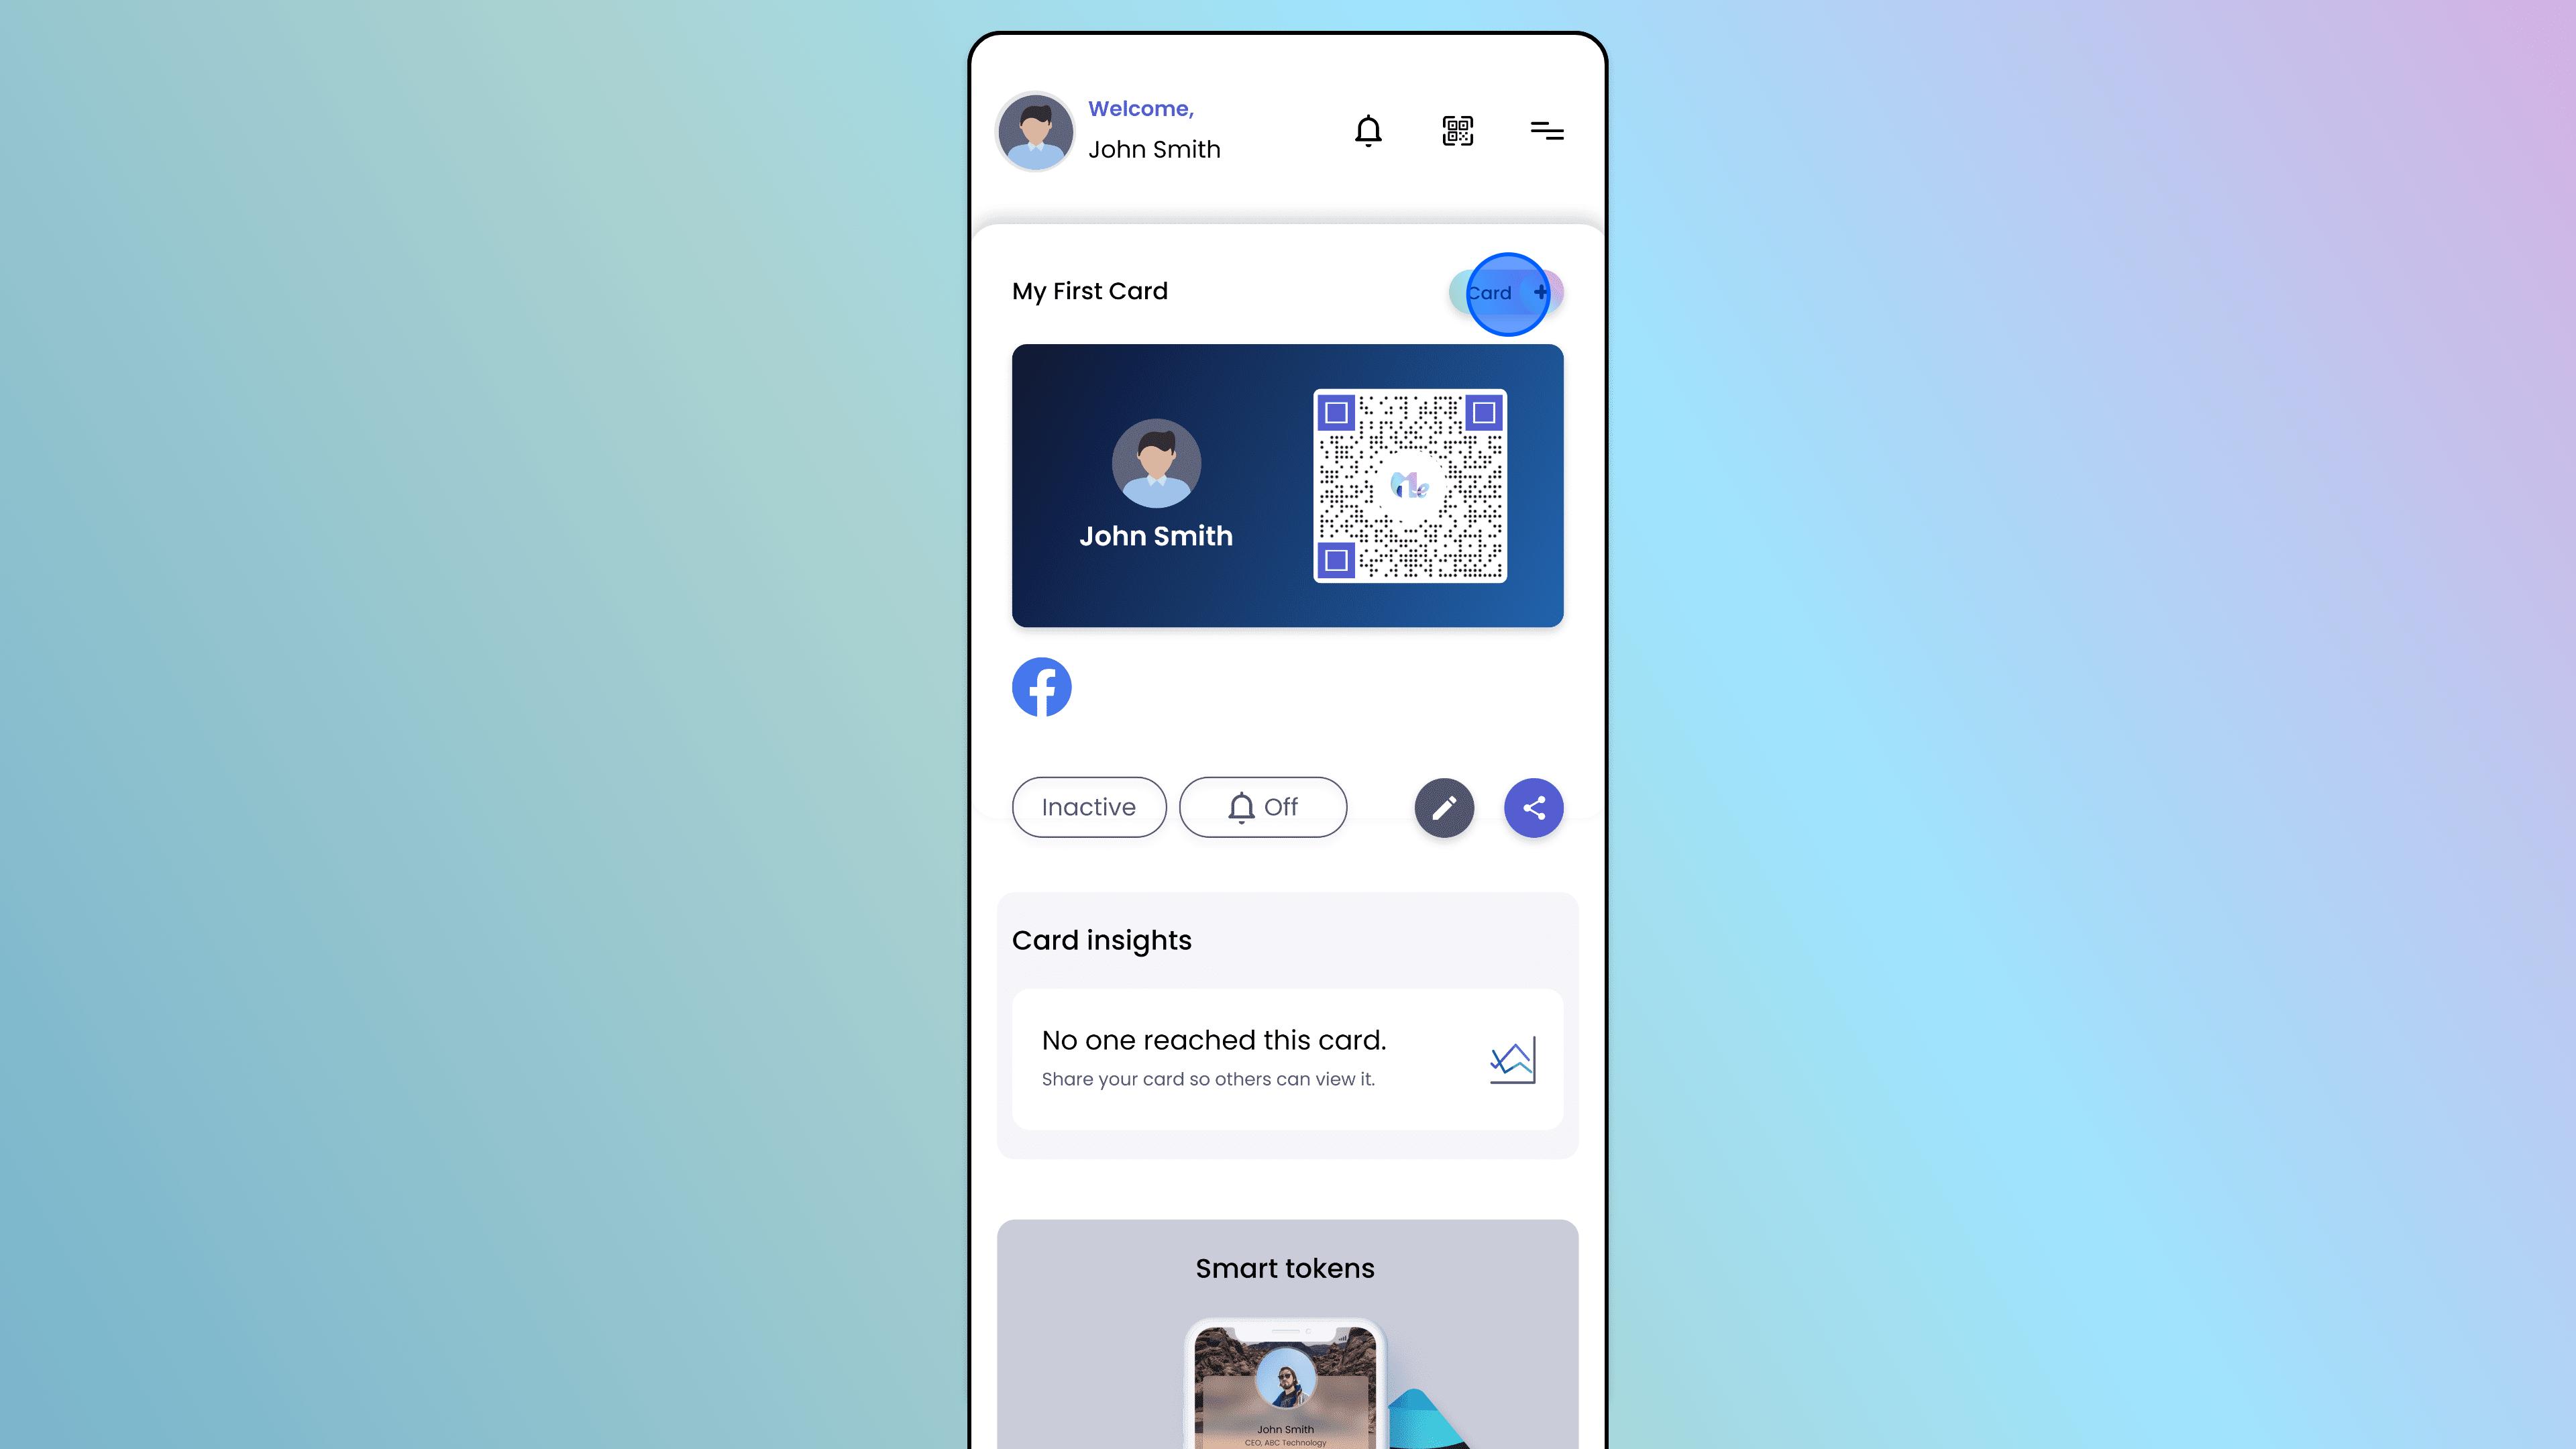
Initiate Card Creation
On the app’s main screen, look for the "Card+" button (or the "+" icon).
Tap on it to start the process.
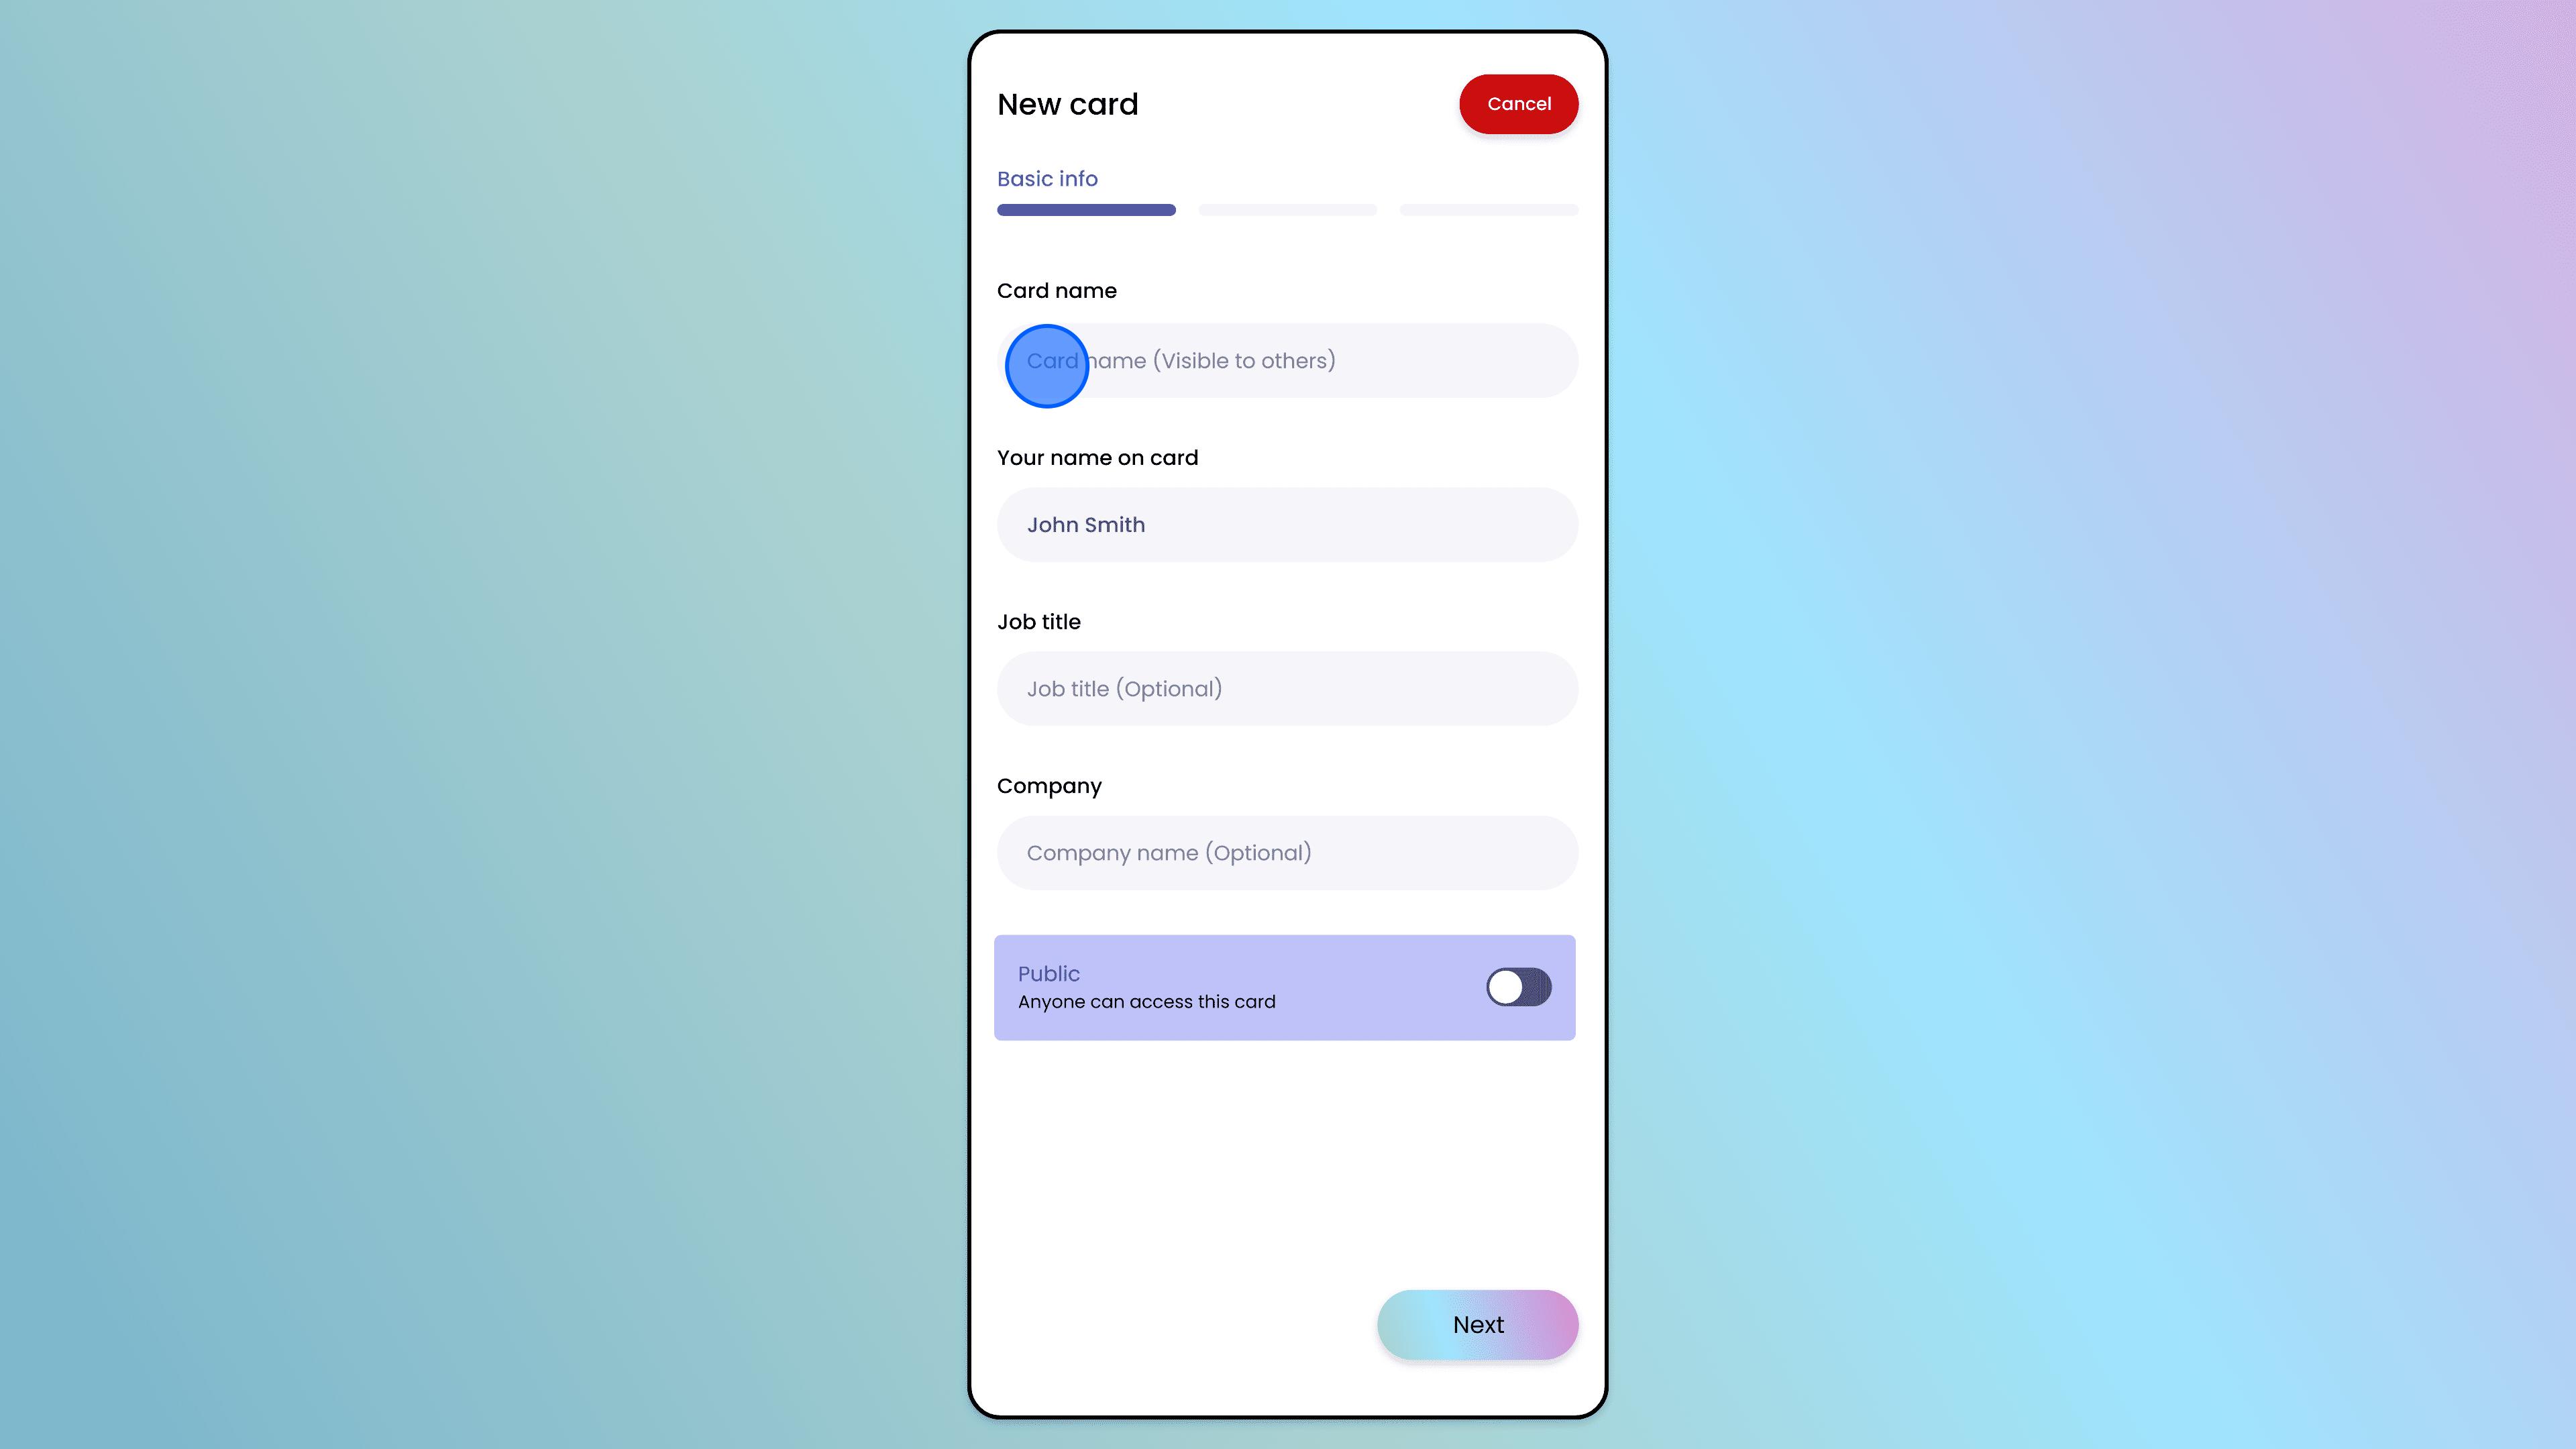
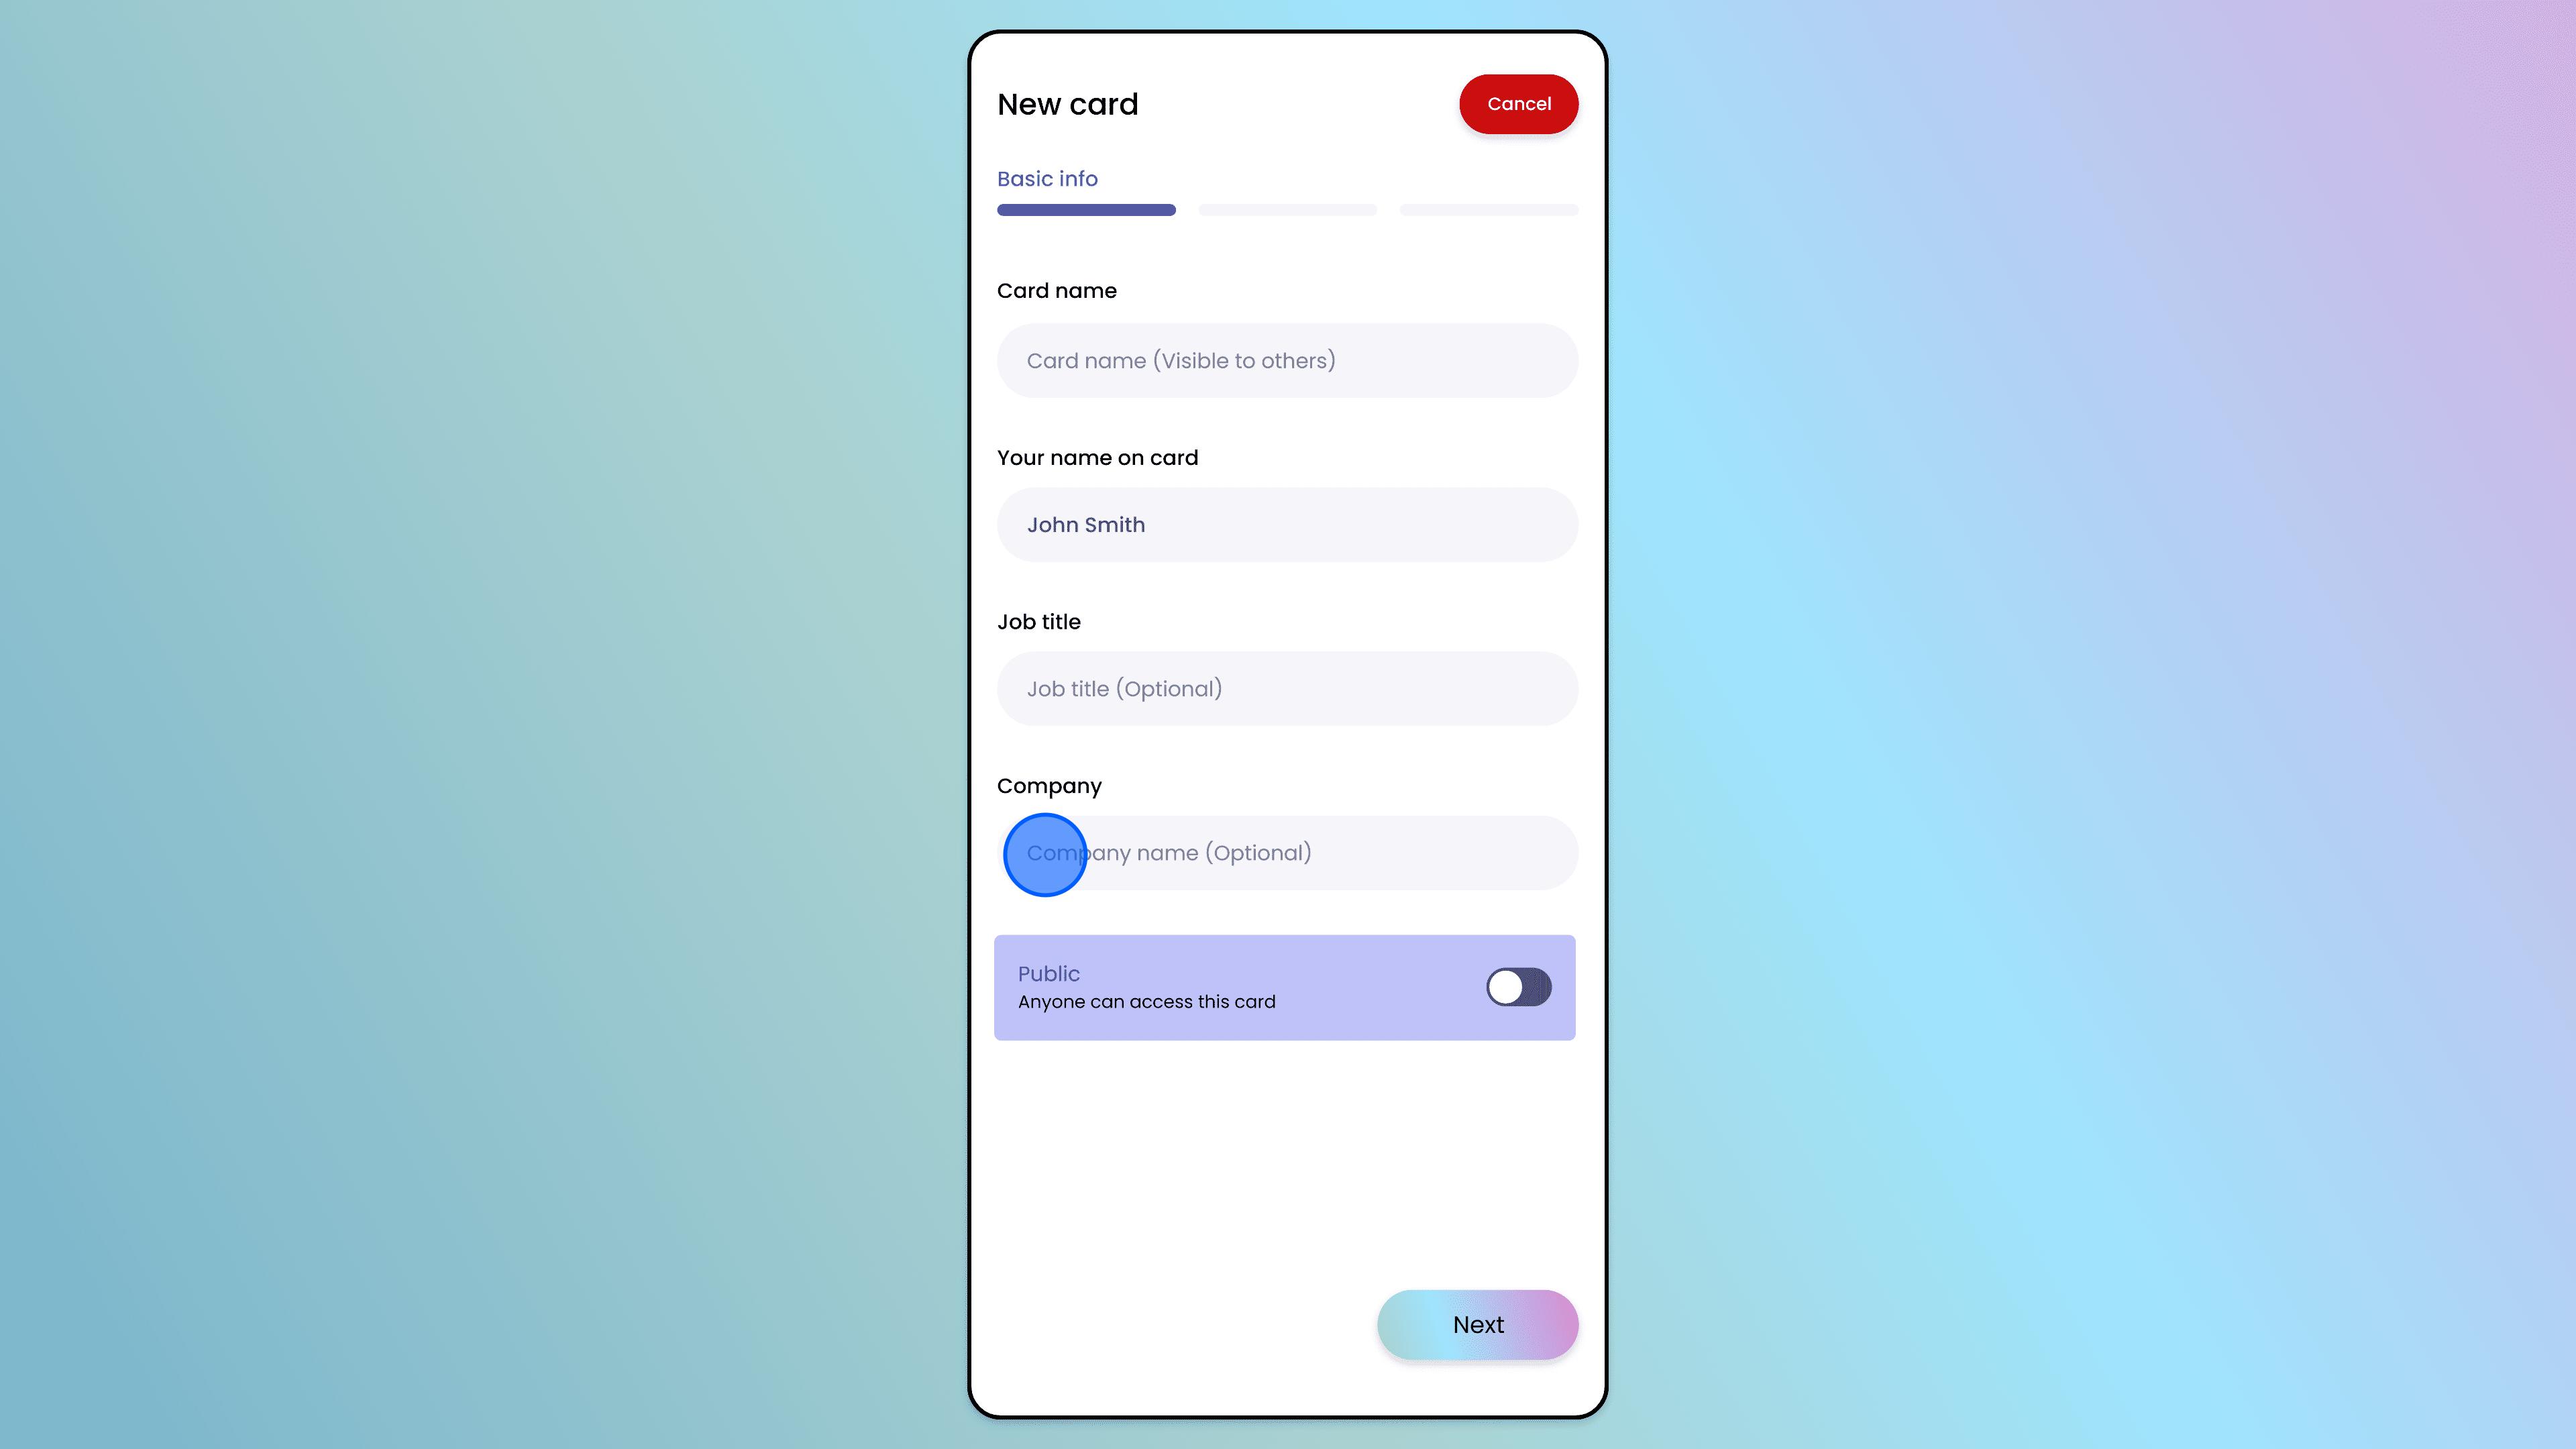
Basic Information
Card Name (Required): Enter a unique name for this card (e.g., "Personal", "Work", "Networking") to help you identify it later.
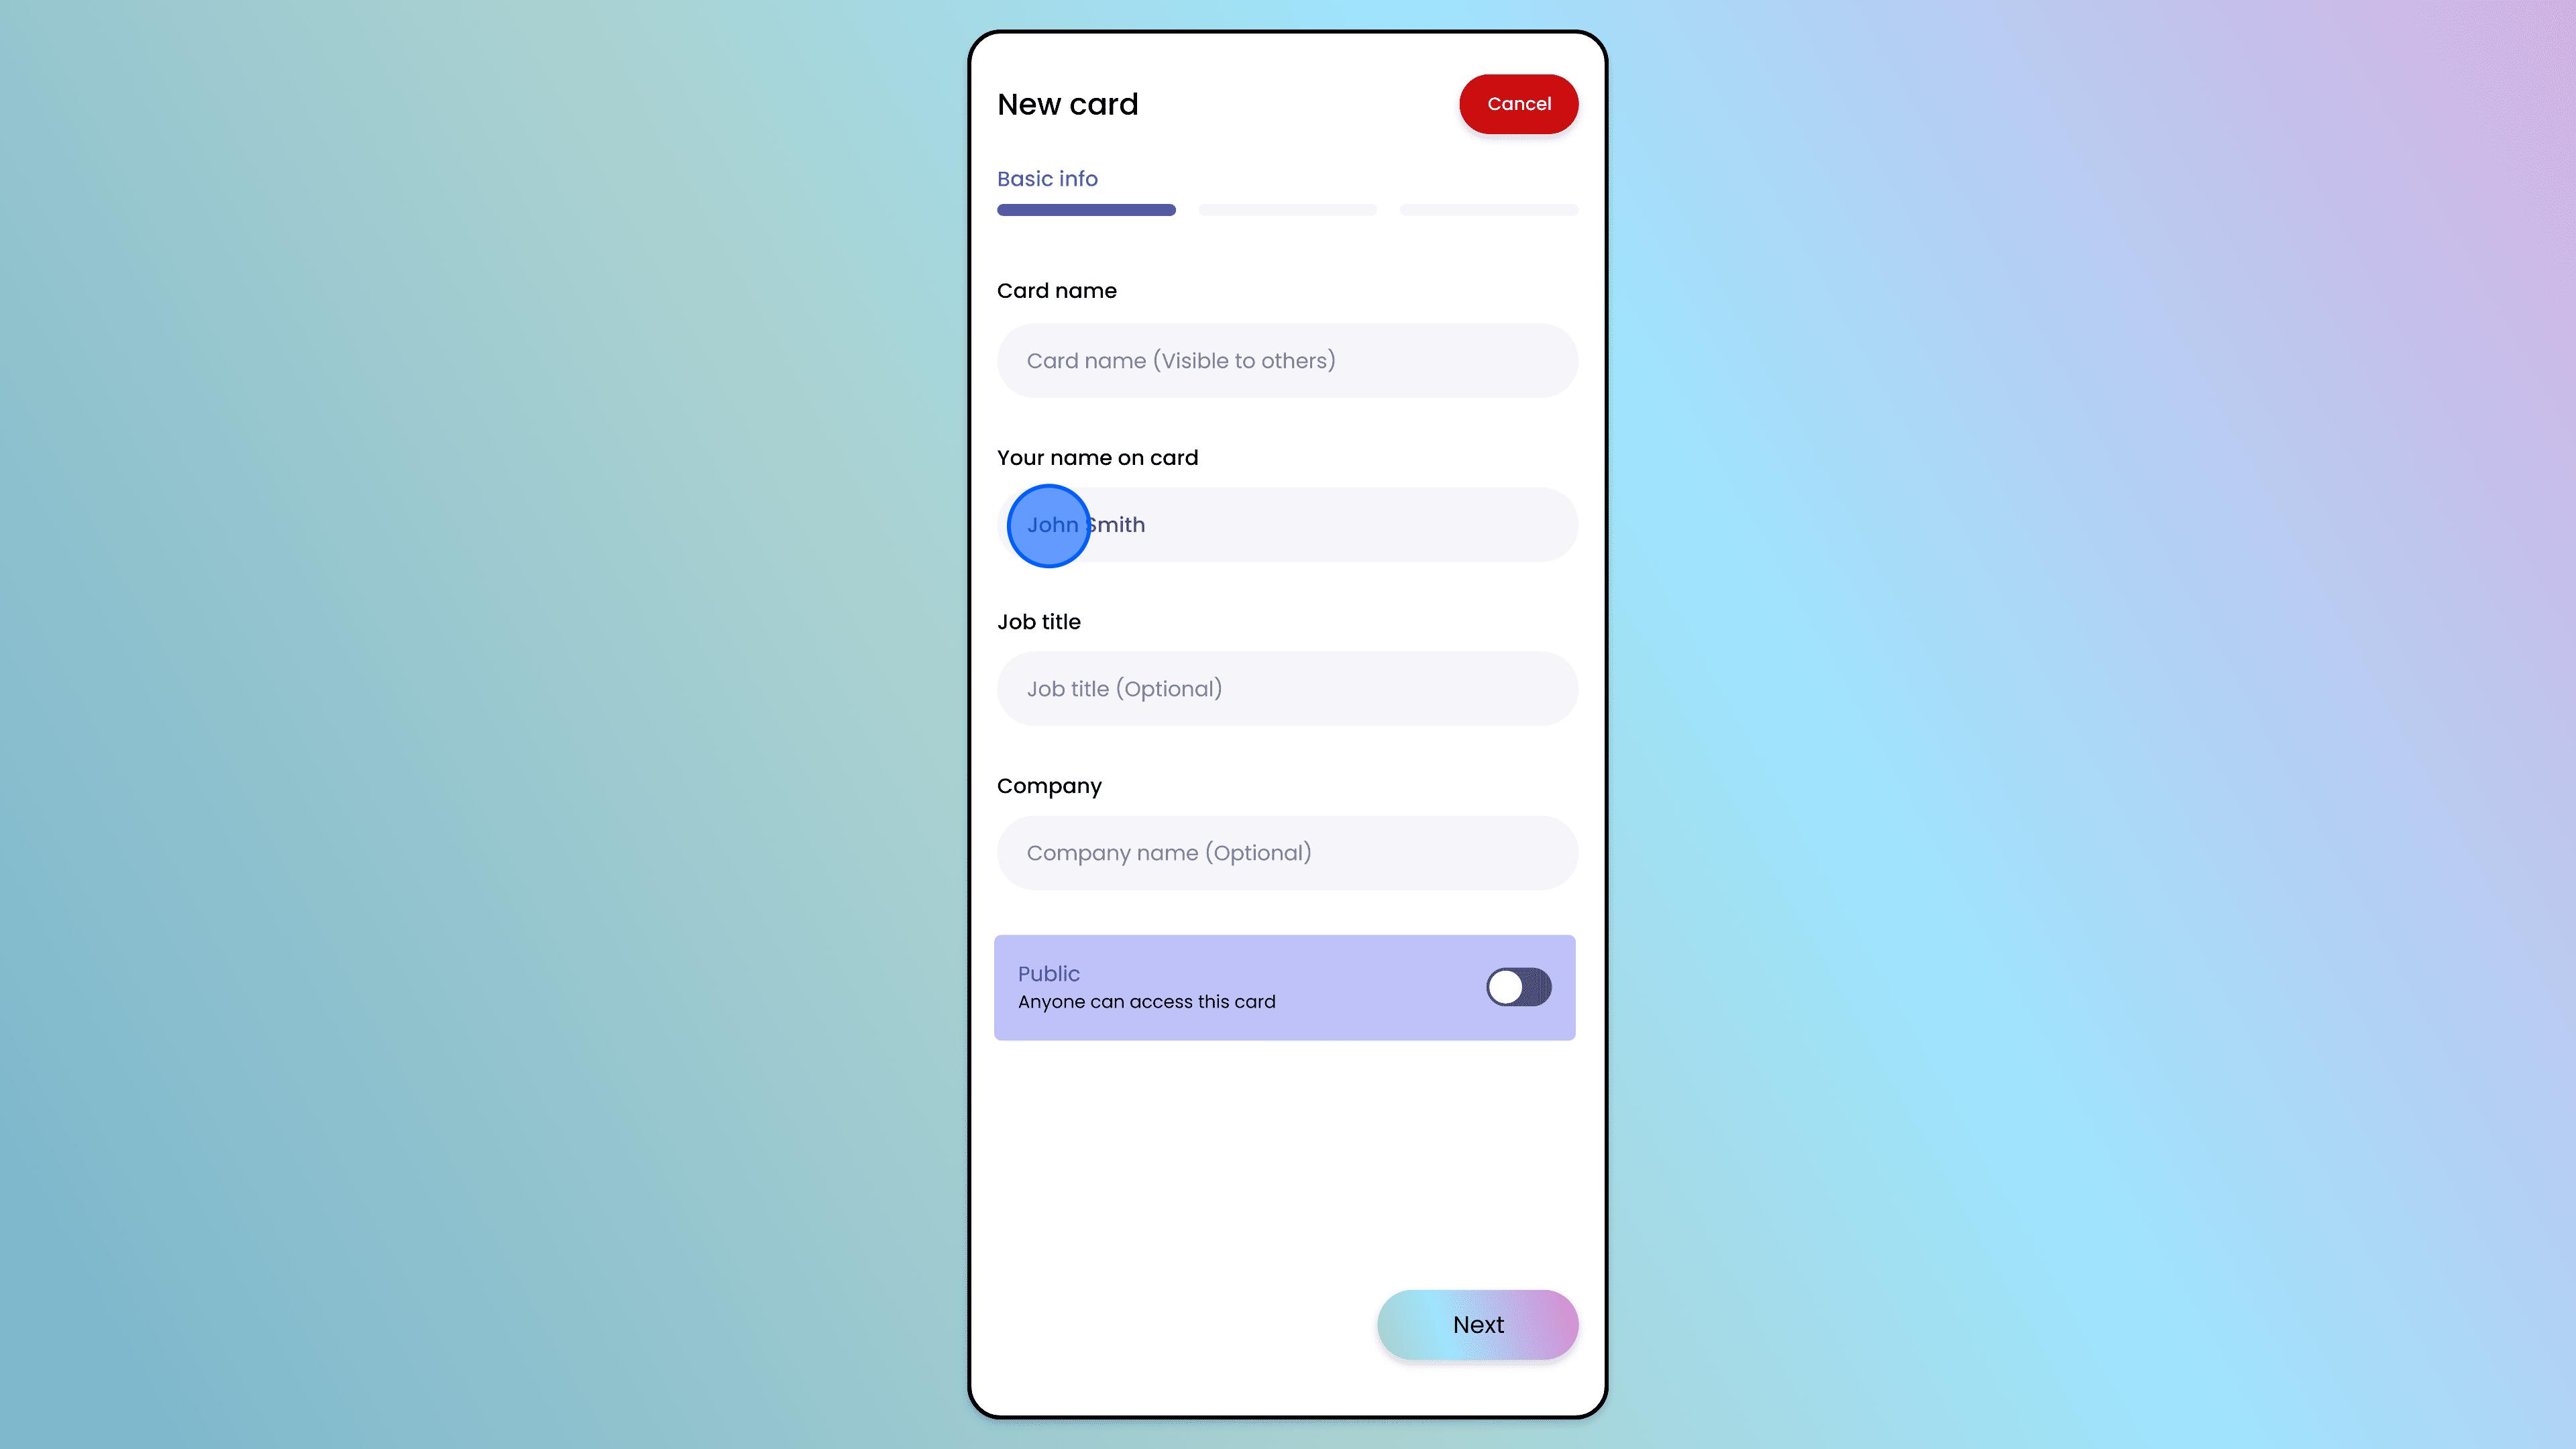
Your Name: Enter the full name you want displayed on the card.
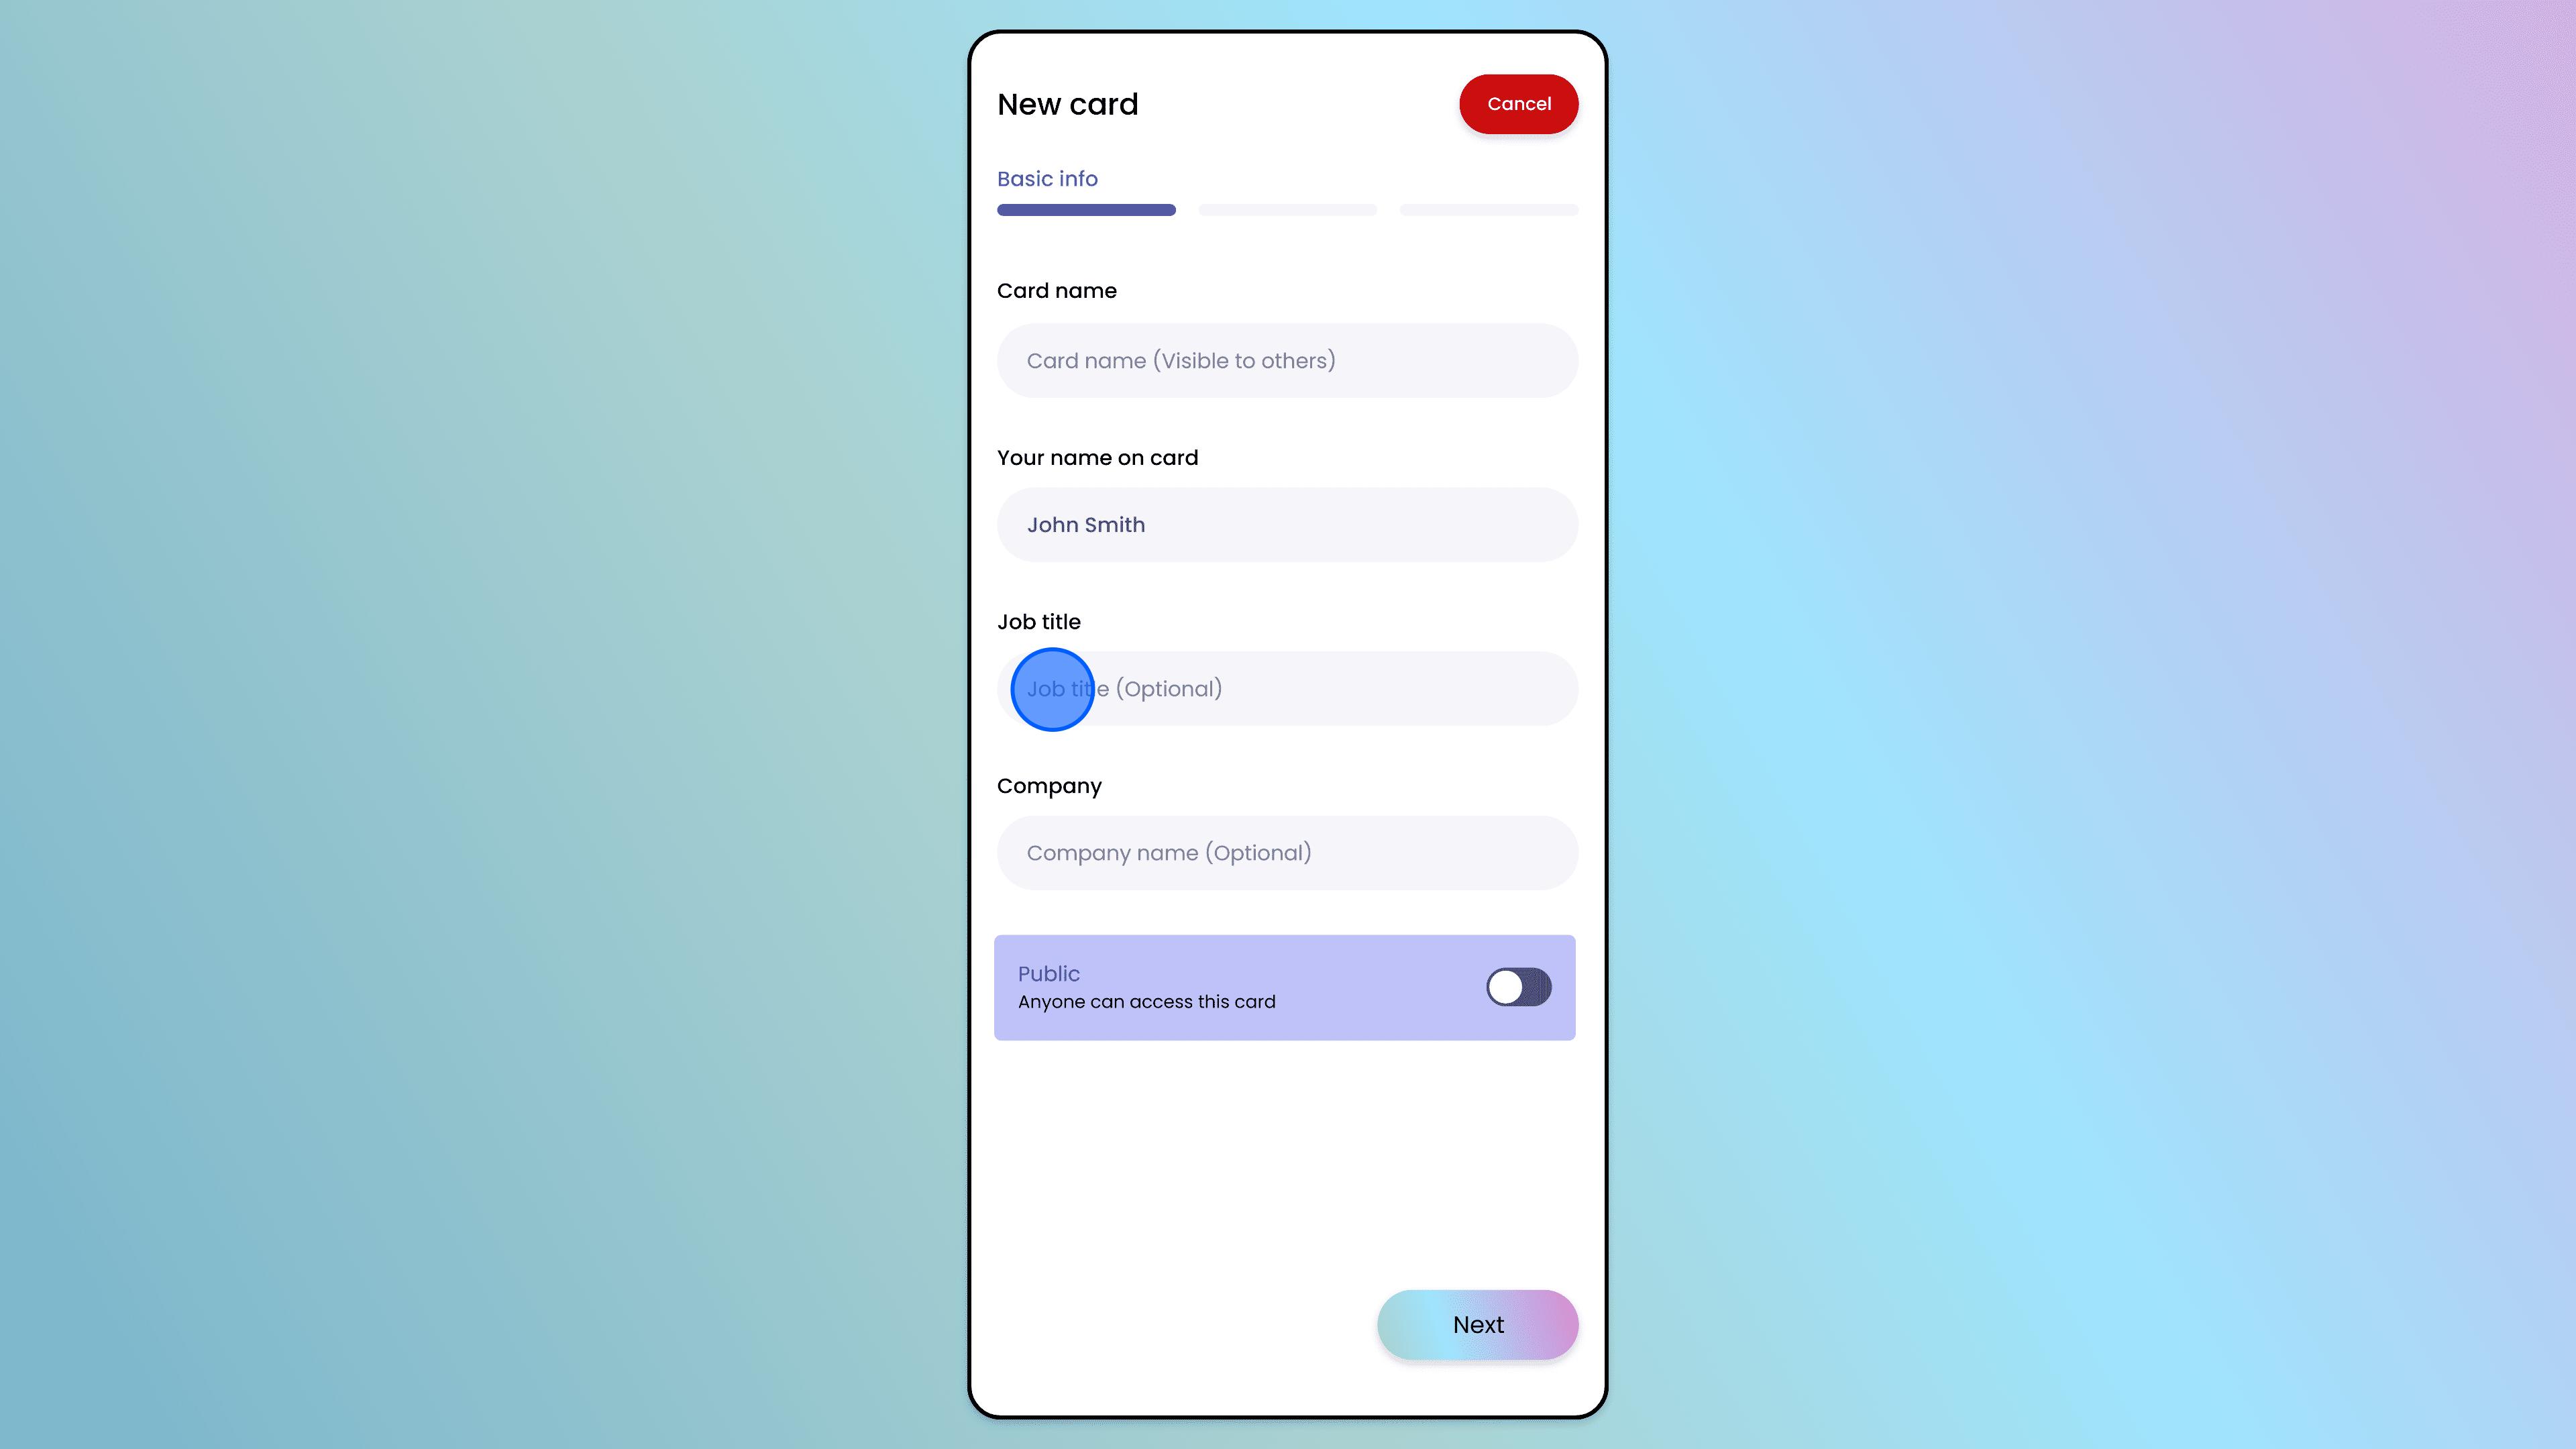
Job Title (Optional): Add your professional title.
Company Name (Optional): Add your organization’s name.
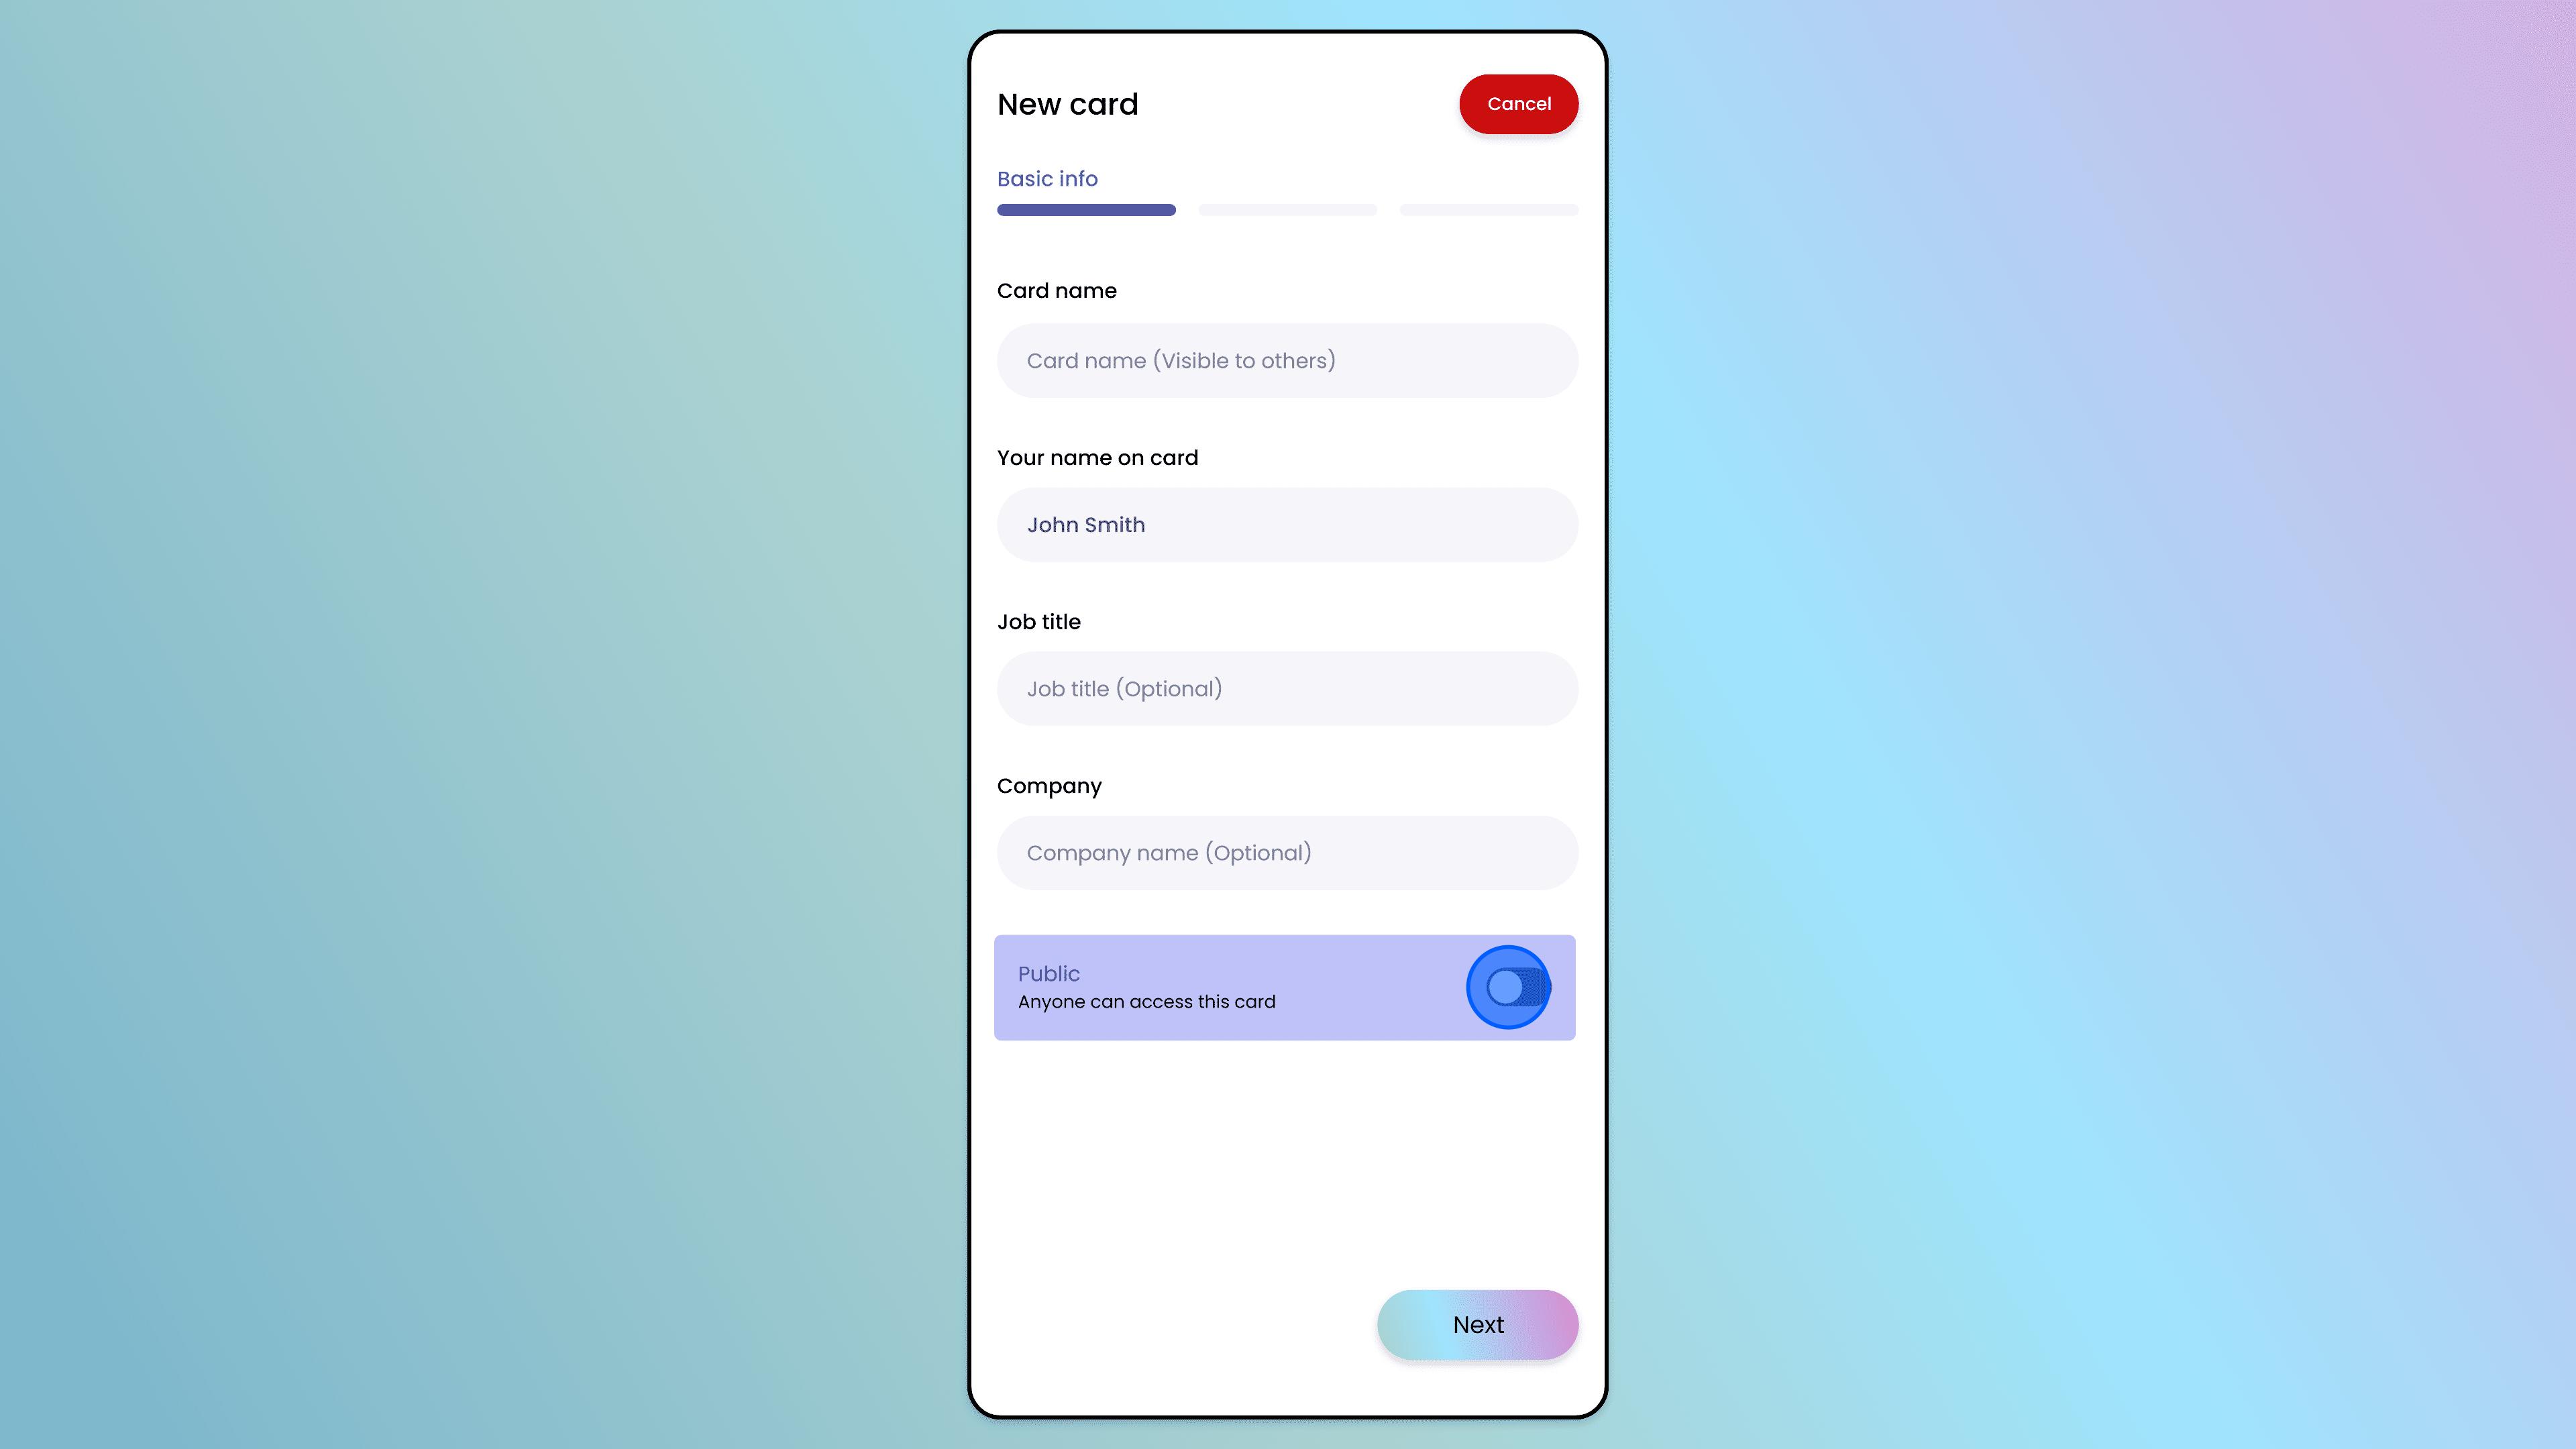
Security Settings (Optional)
Password Protection: You can choose to secure this specific card. If enabled, anyone trying to view the card will need to enter the password you set.
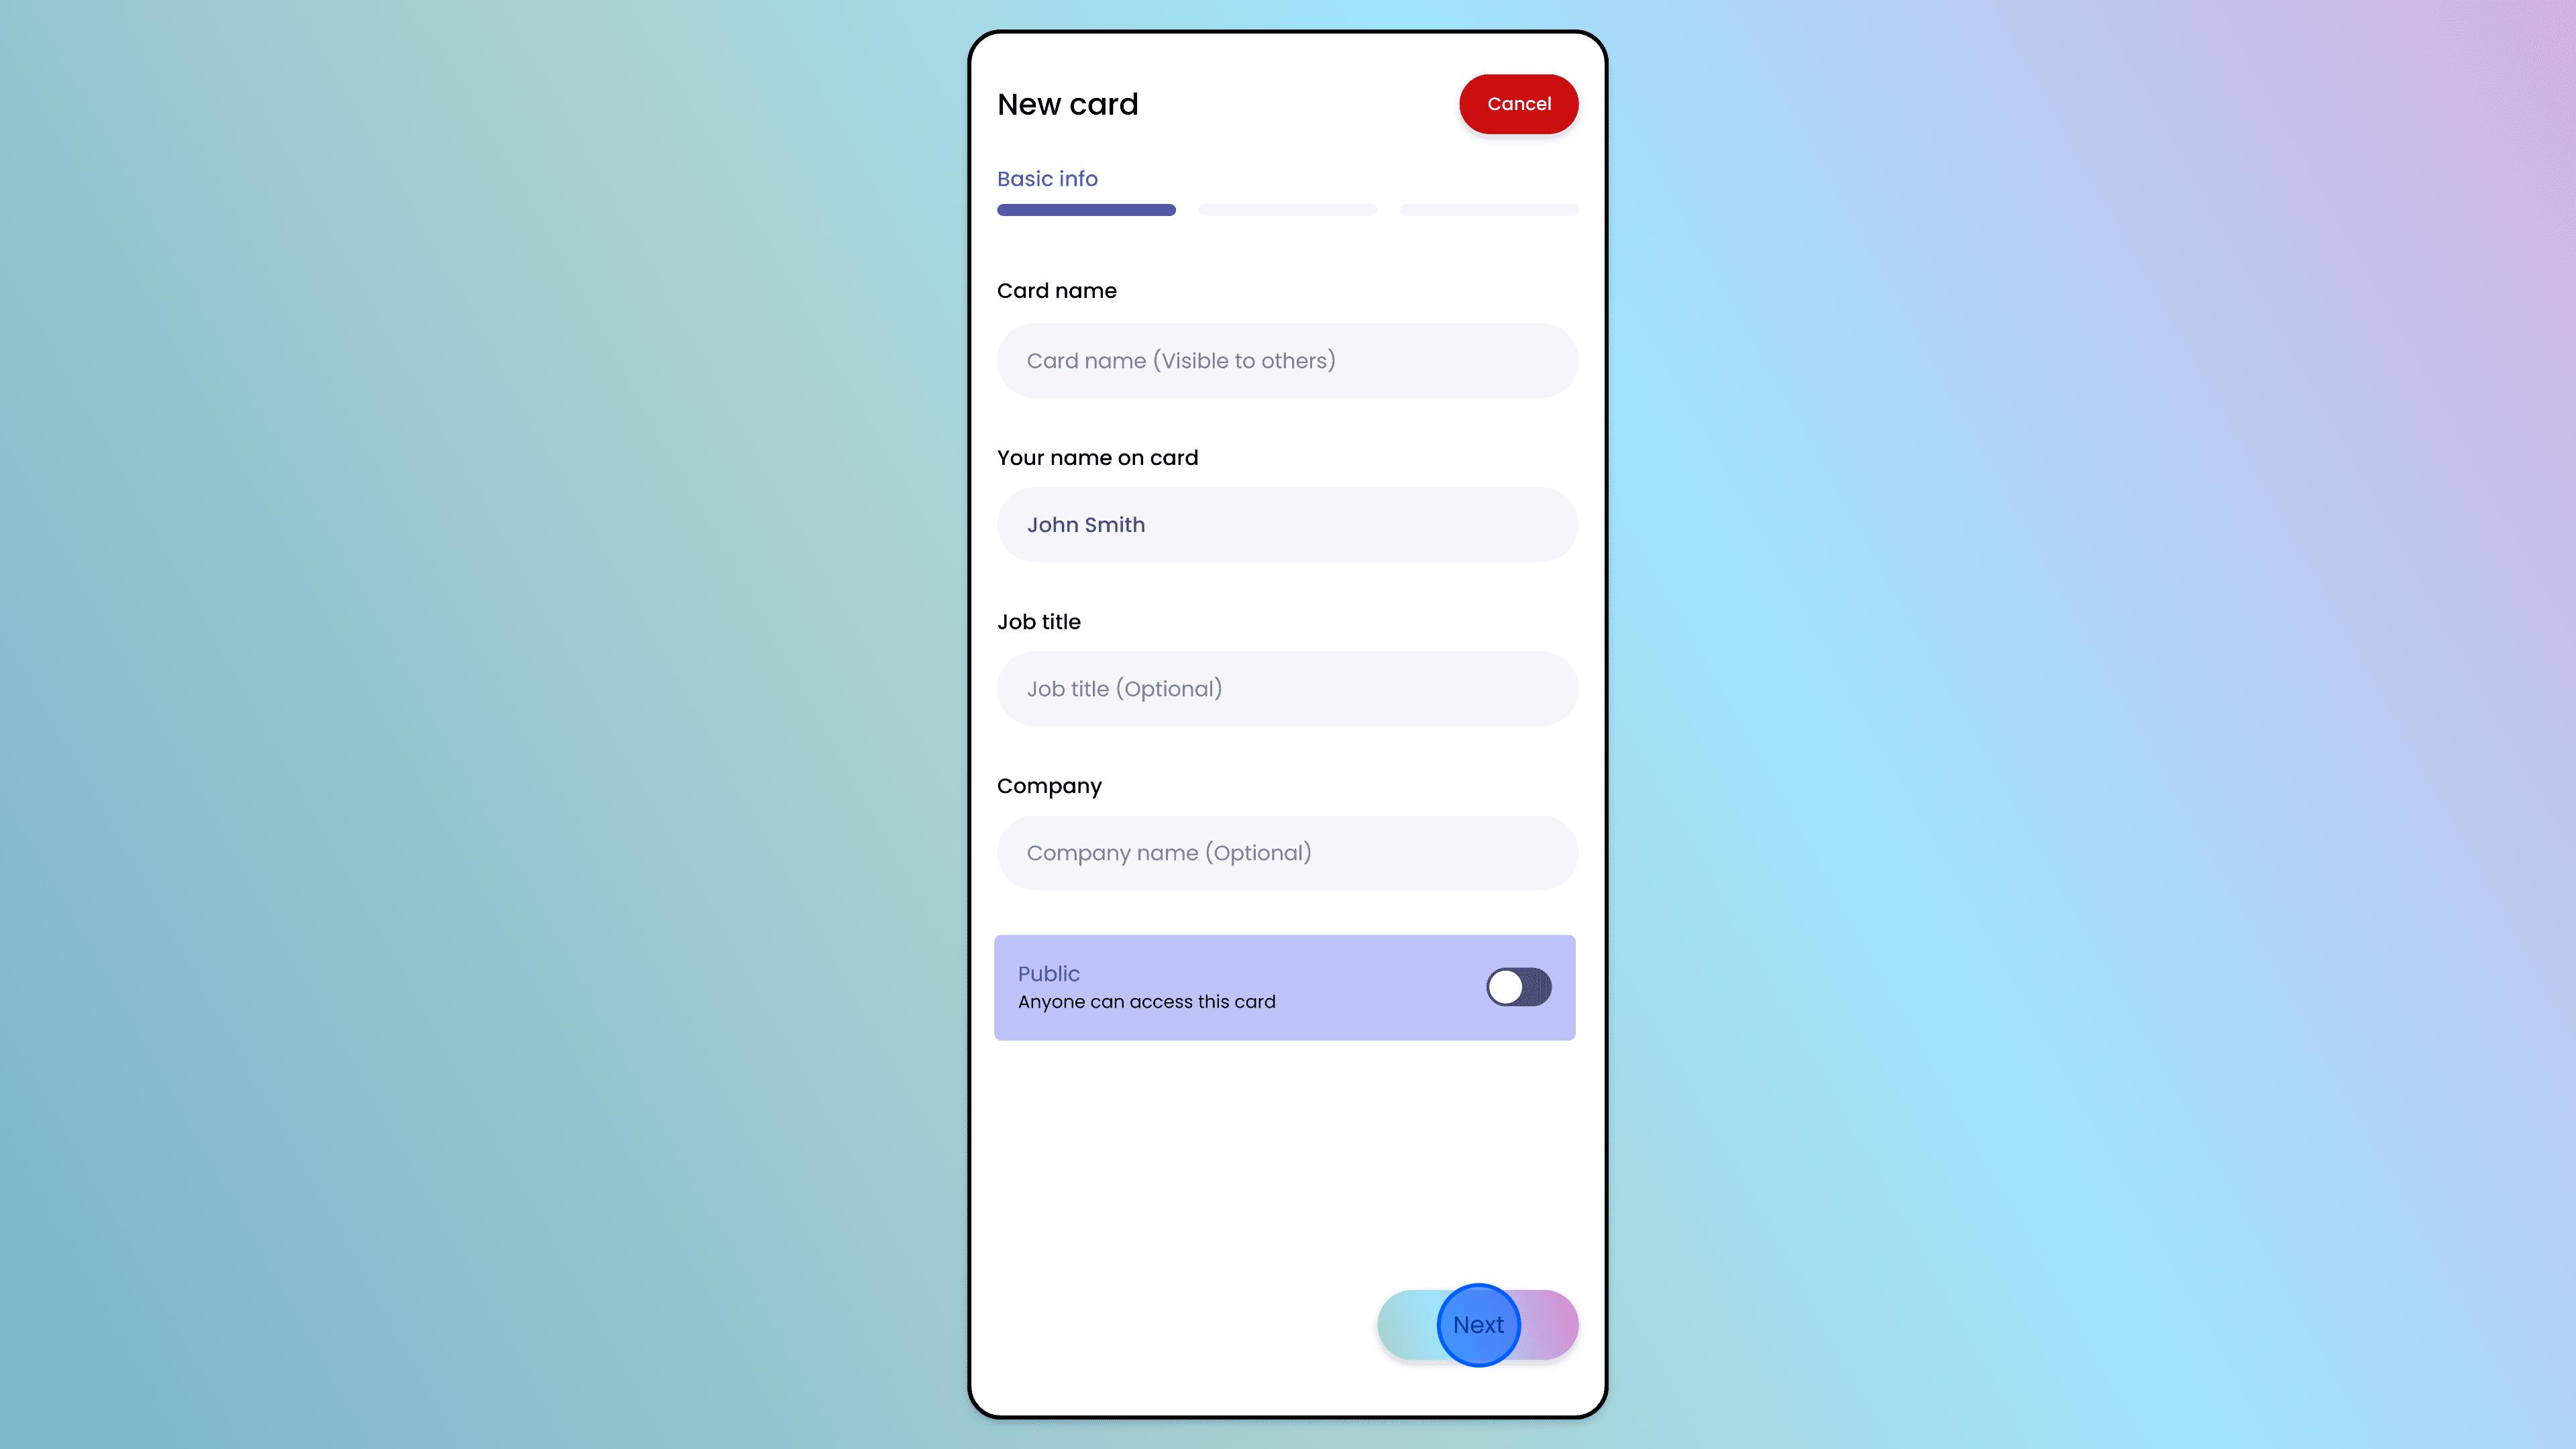
Tap "Next" to proceed.
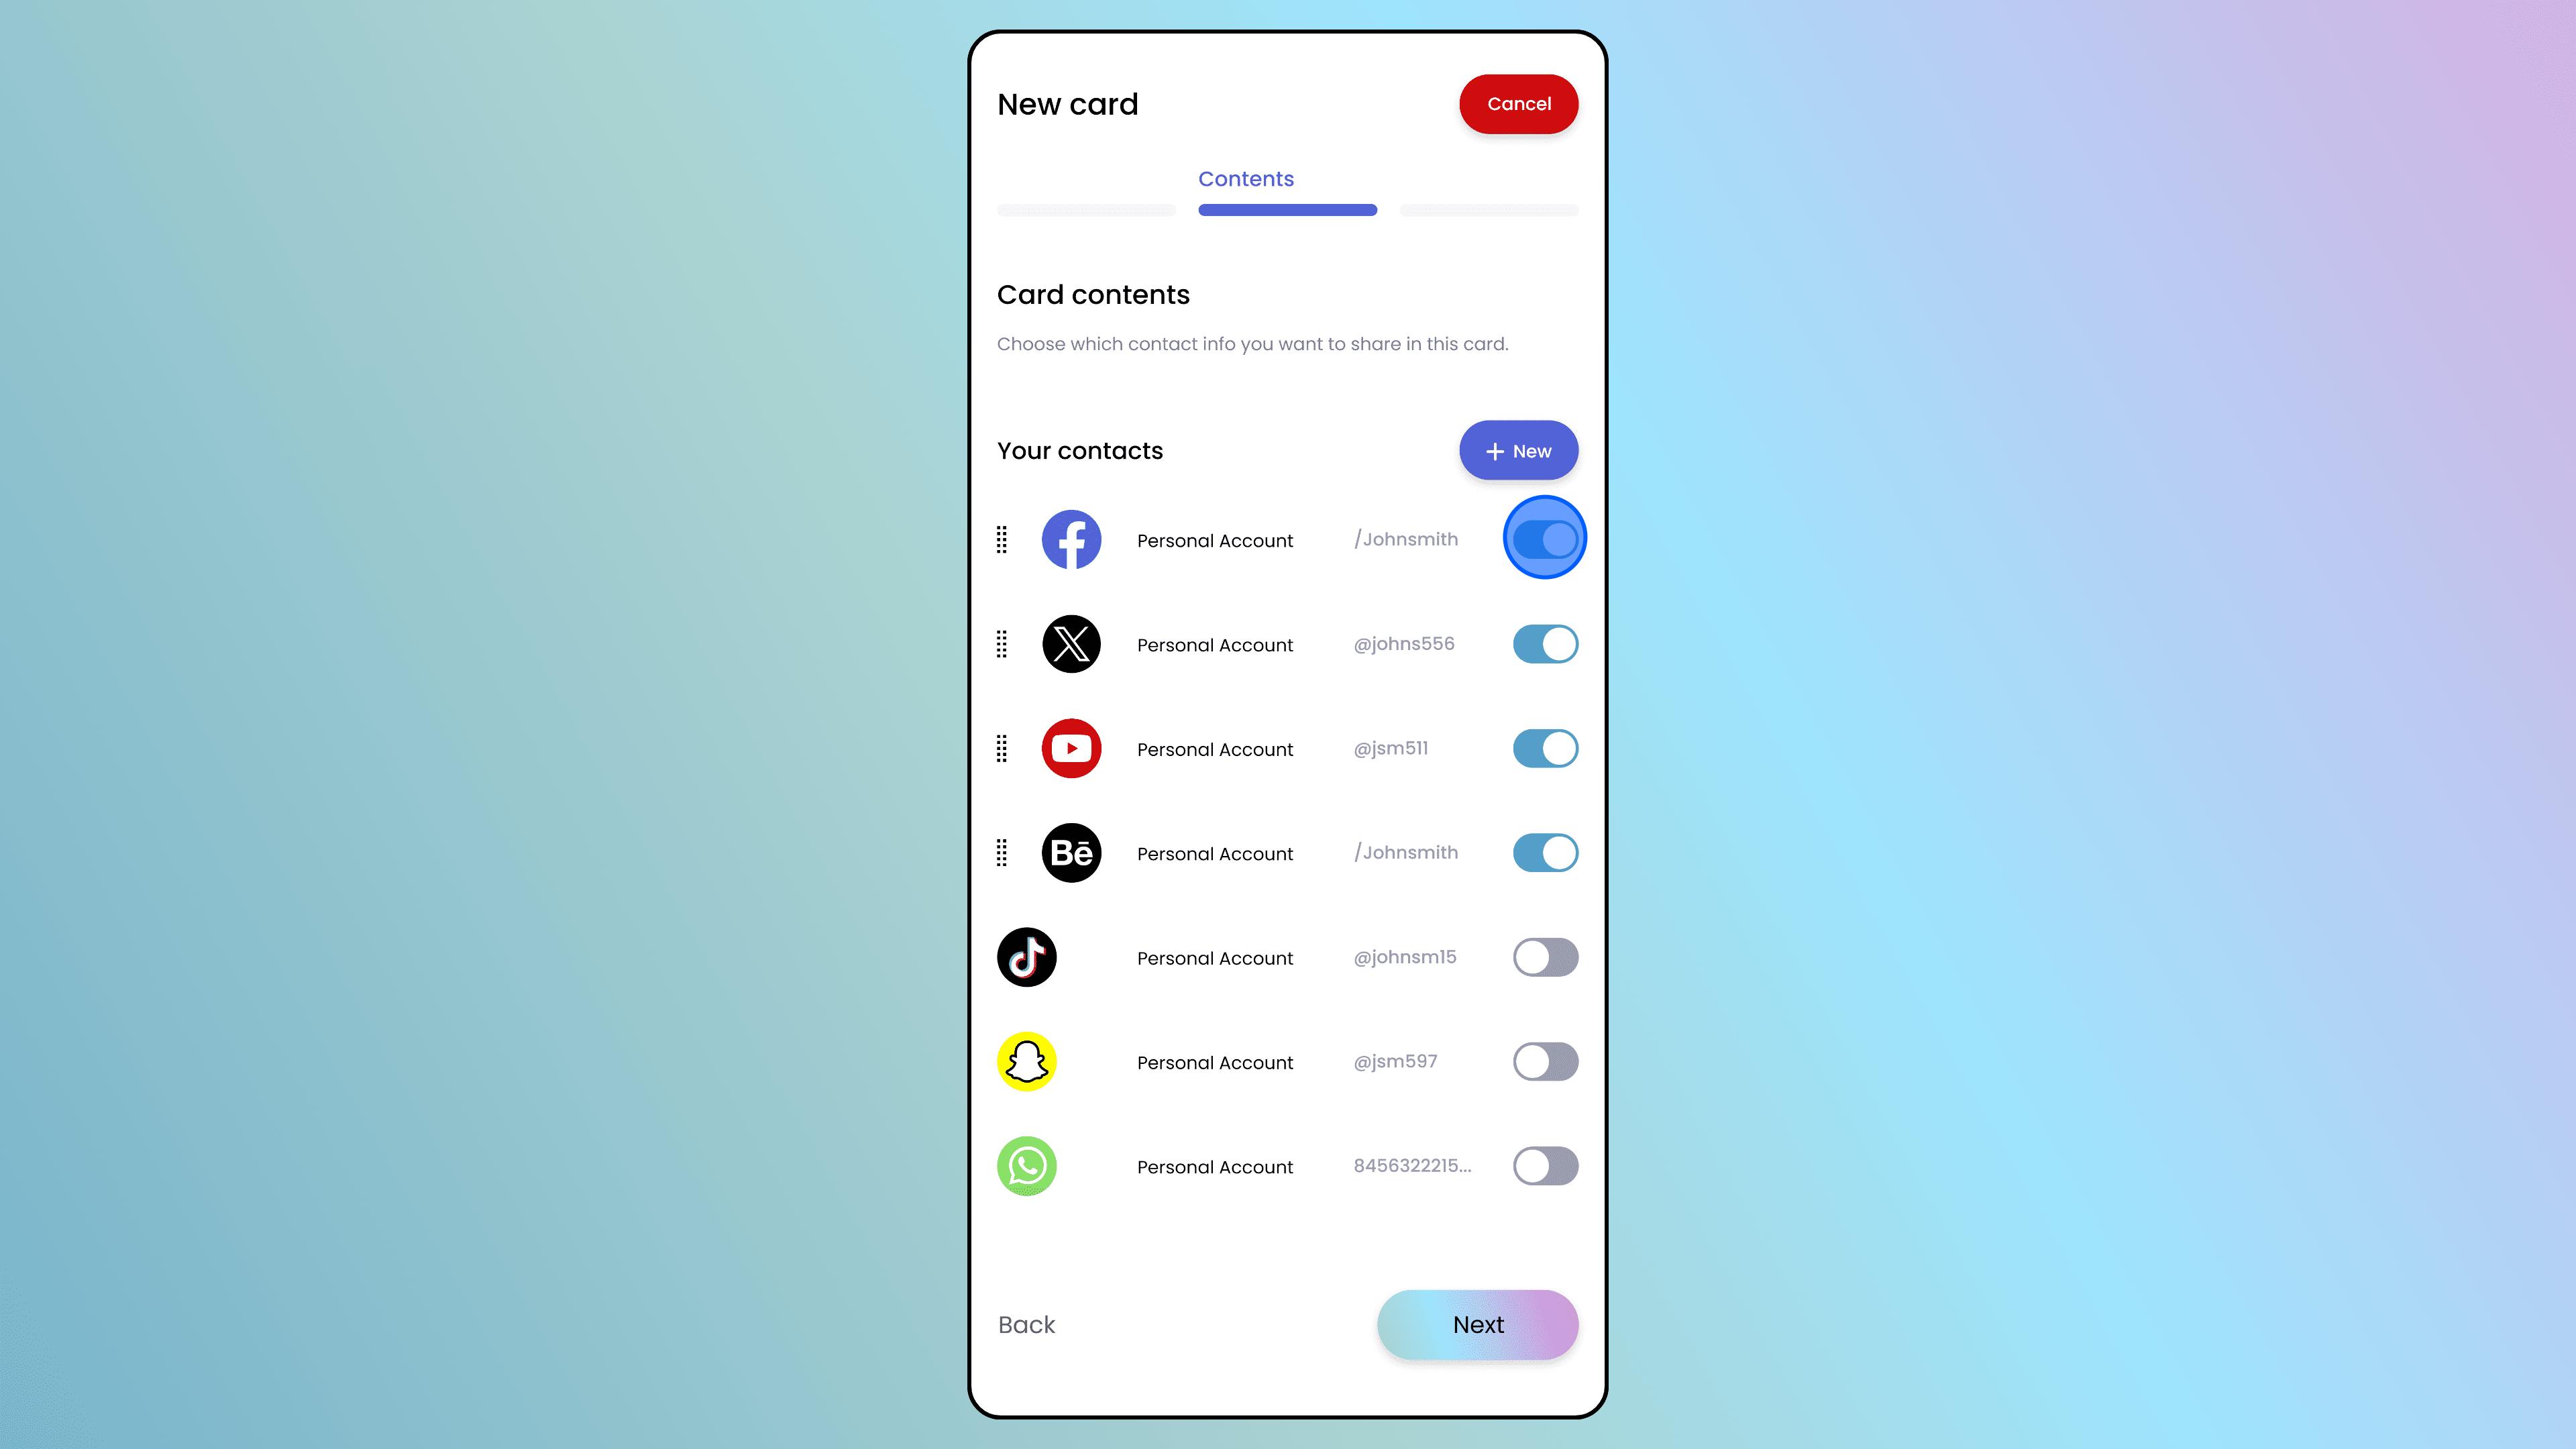
Add Contact Details
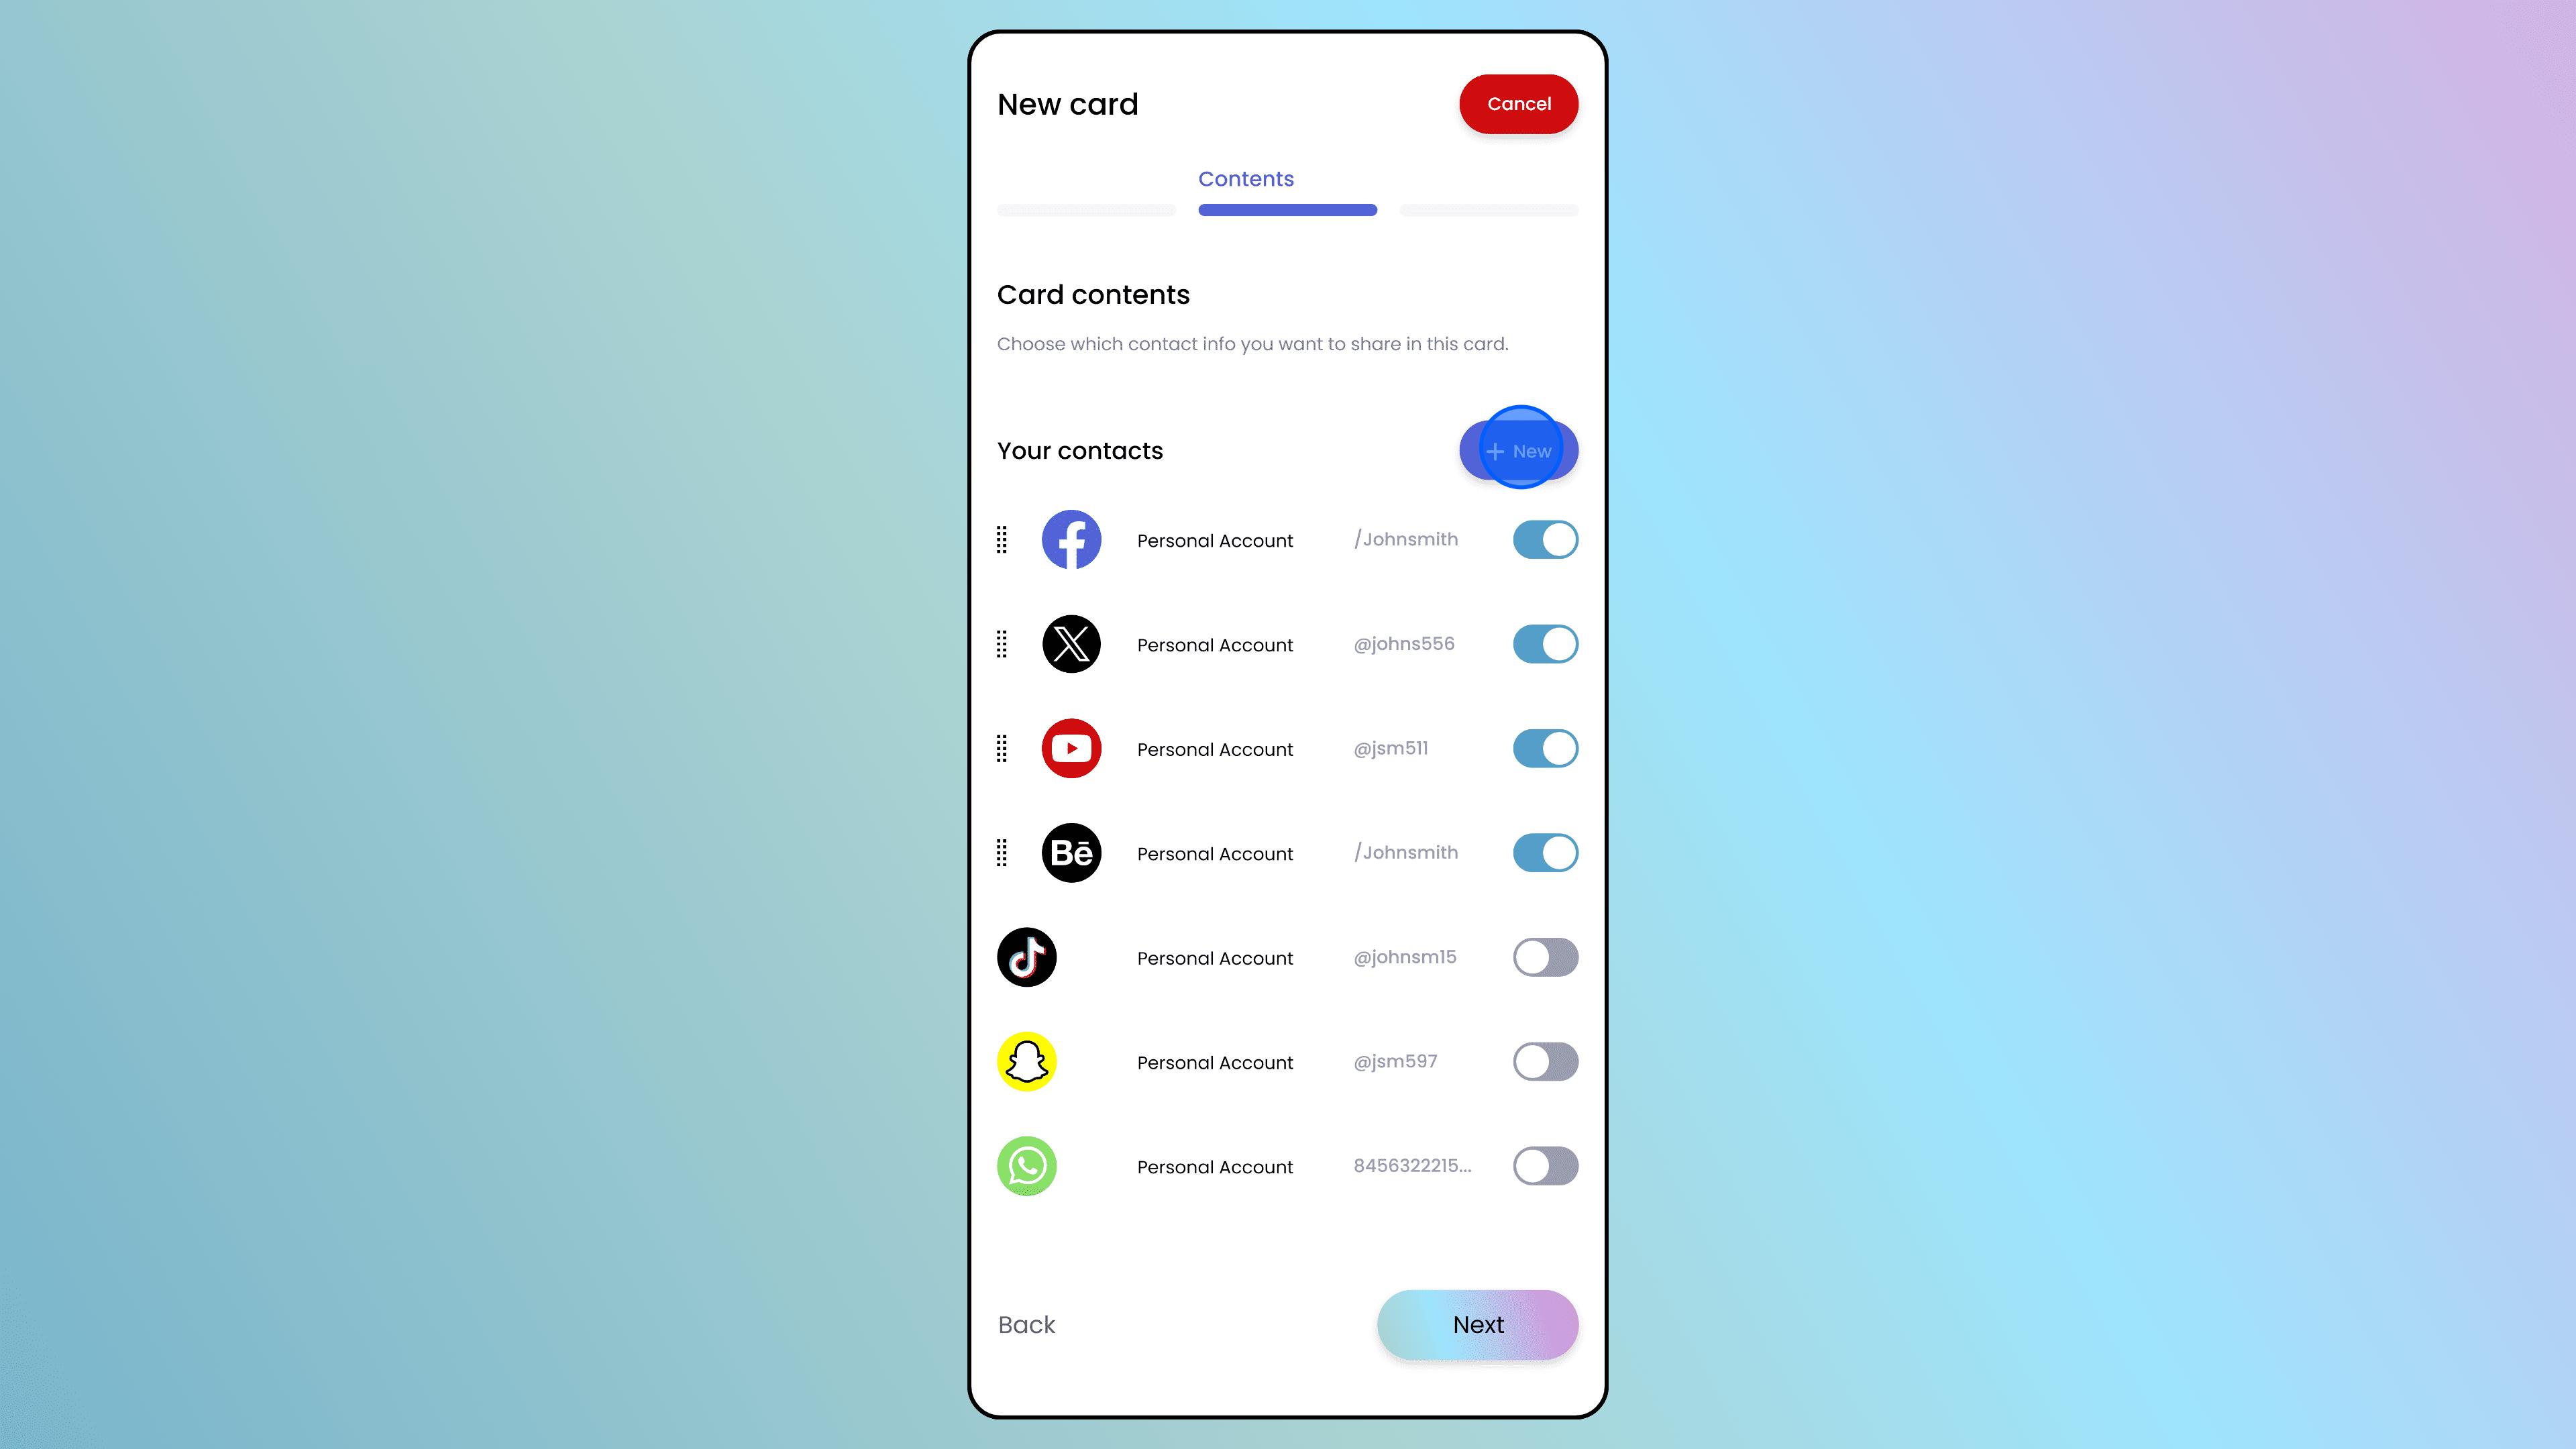
You will see a list of your existing contact details (phone numbers, emails, social links).
Select: Tap the checkboxes next to the specific information you want to include on this specific card.
Add New: If the info you need isn’t listed, tap the "+New" button to create a new contact entry (e.g., a new Instagram handle or work email).
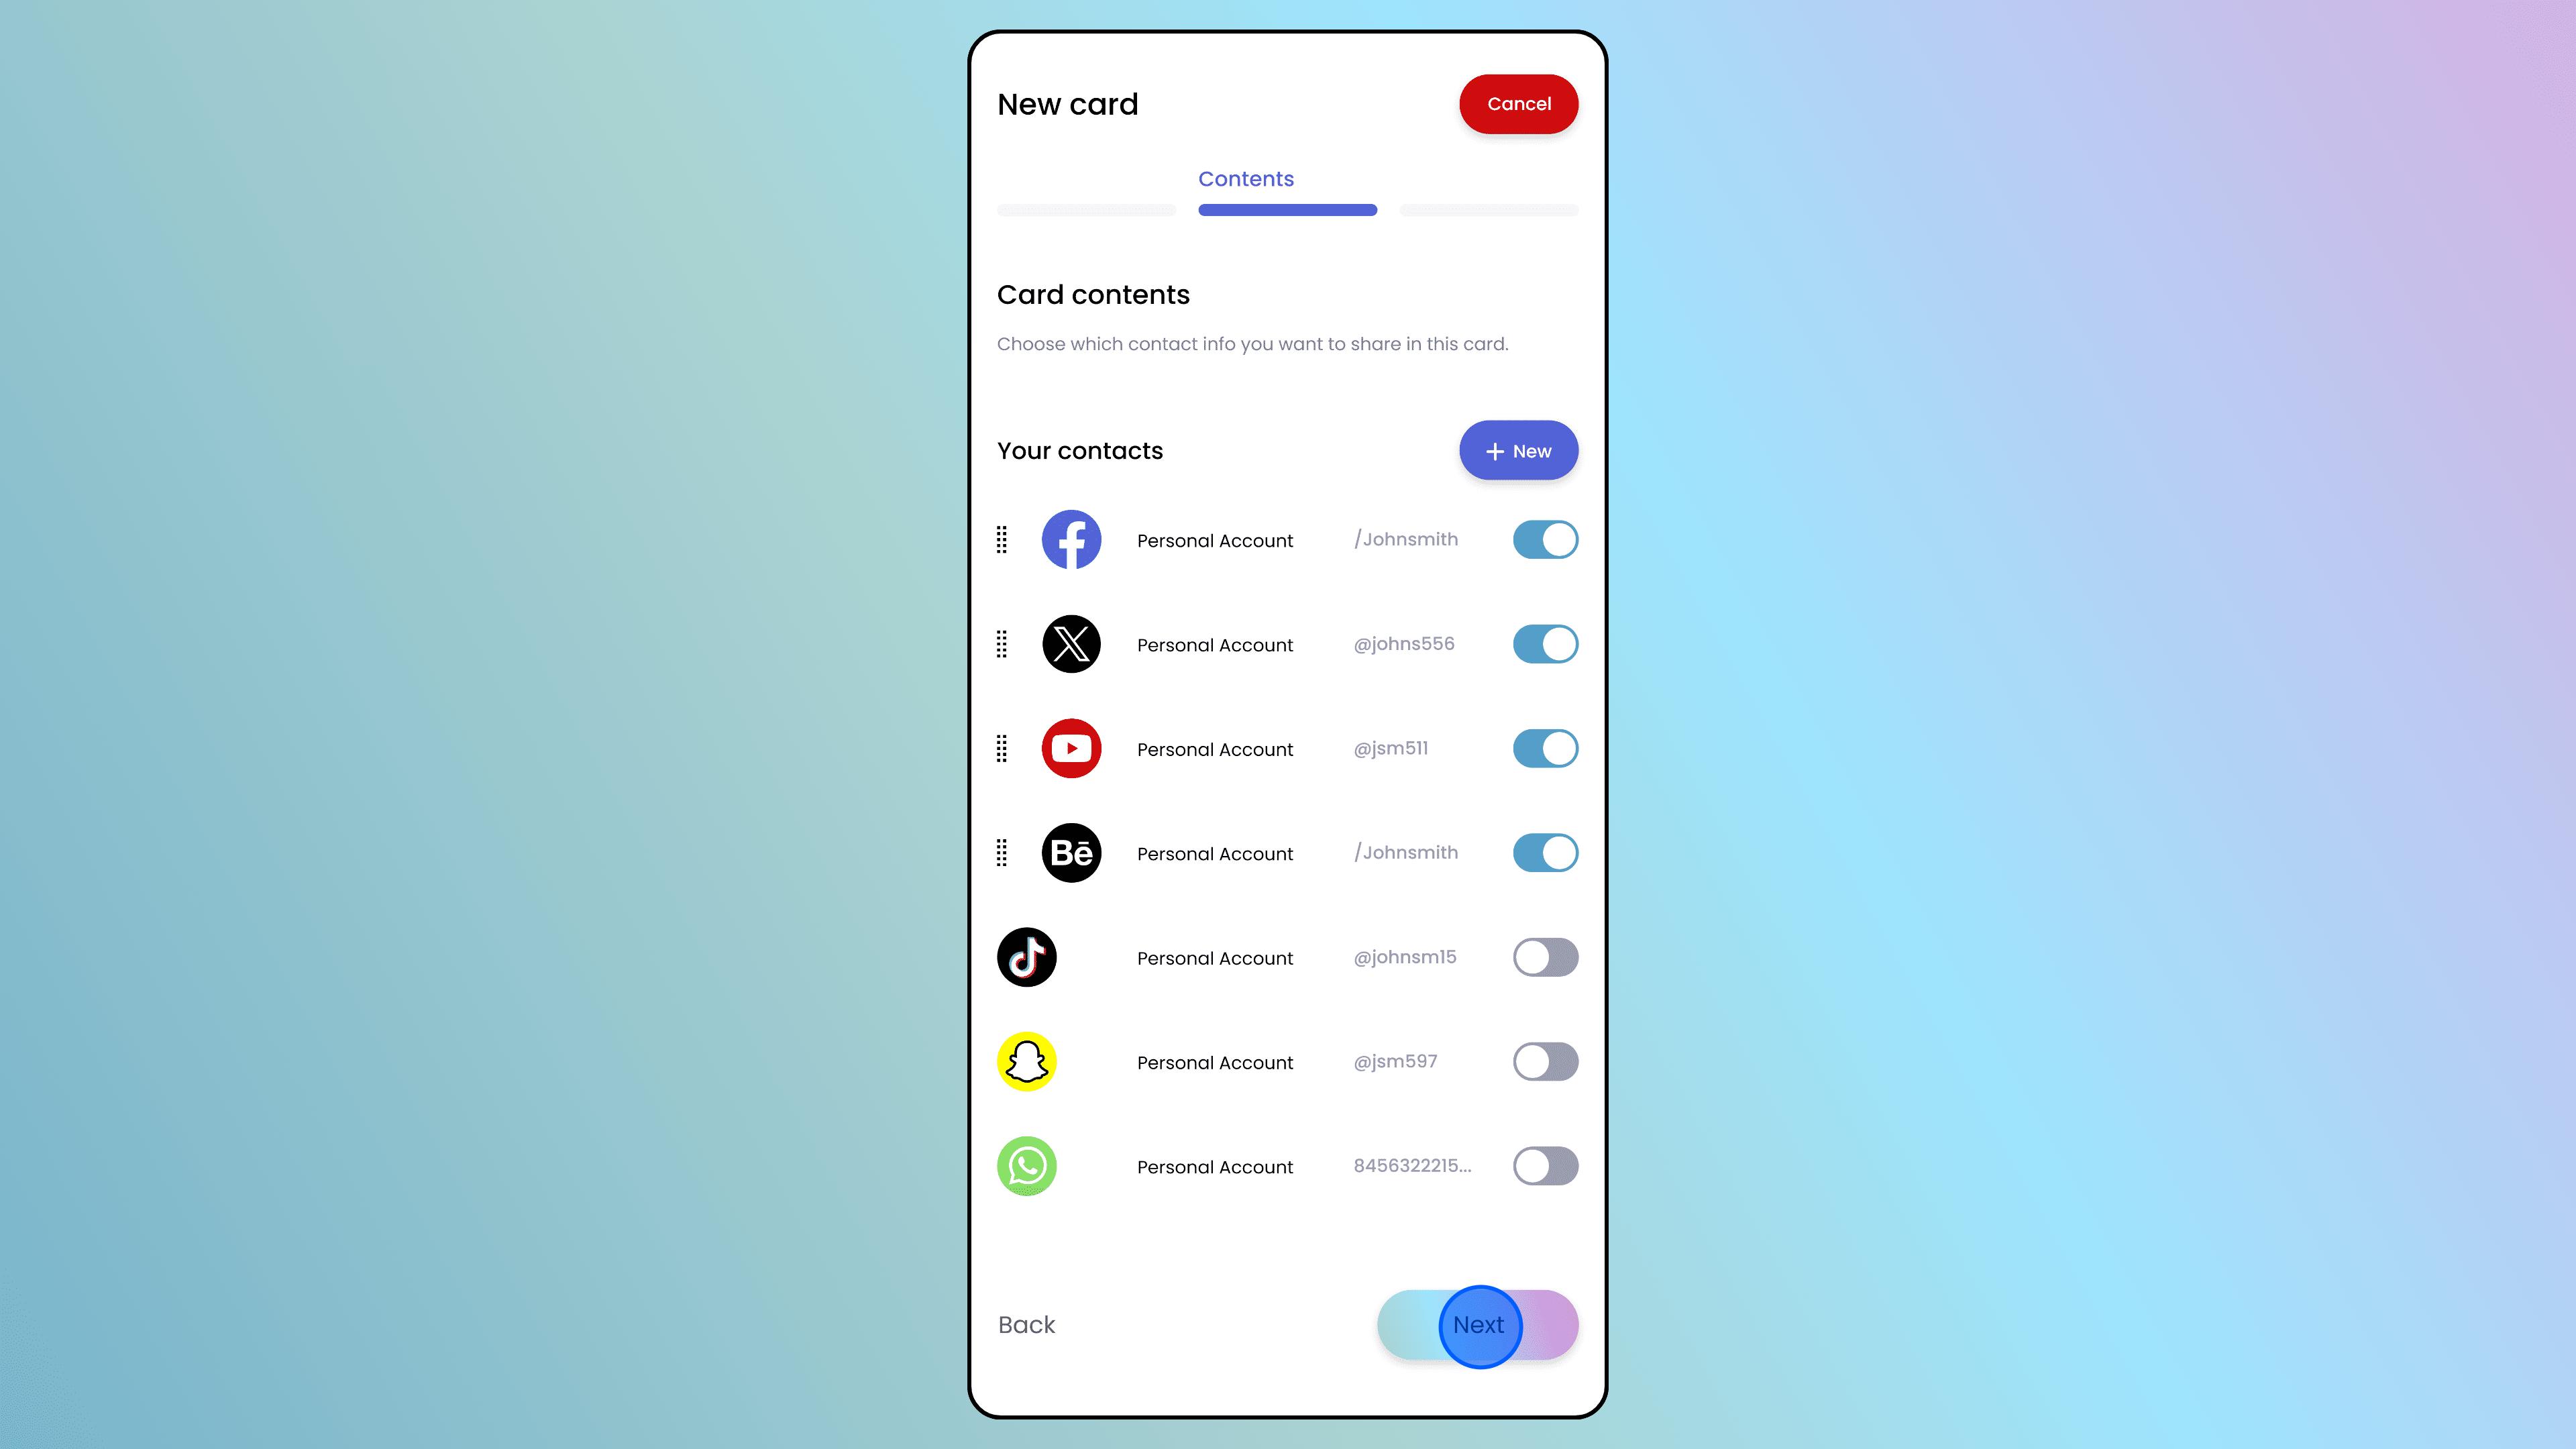
Tap "Next" to continue.
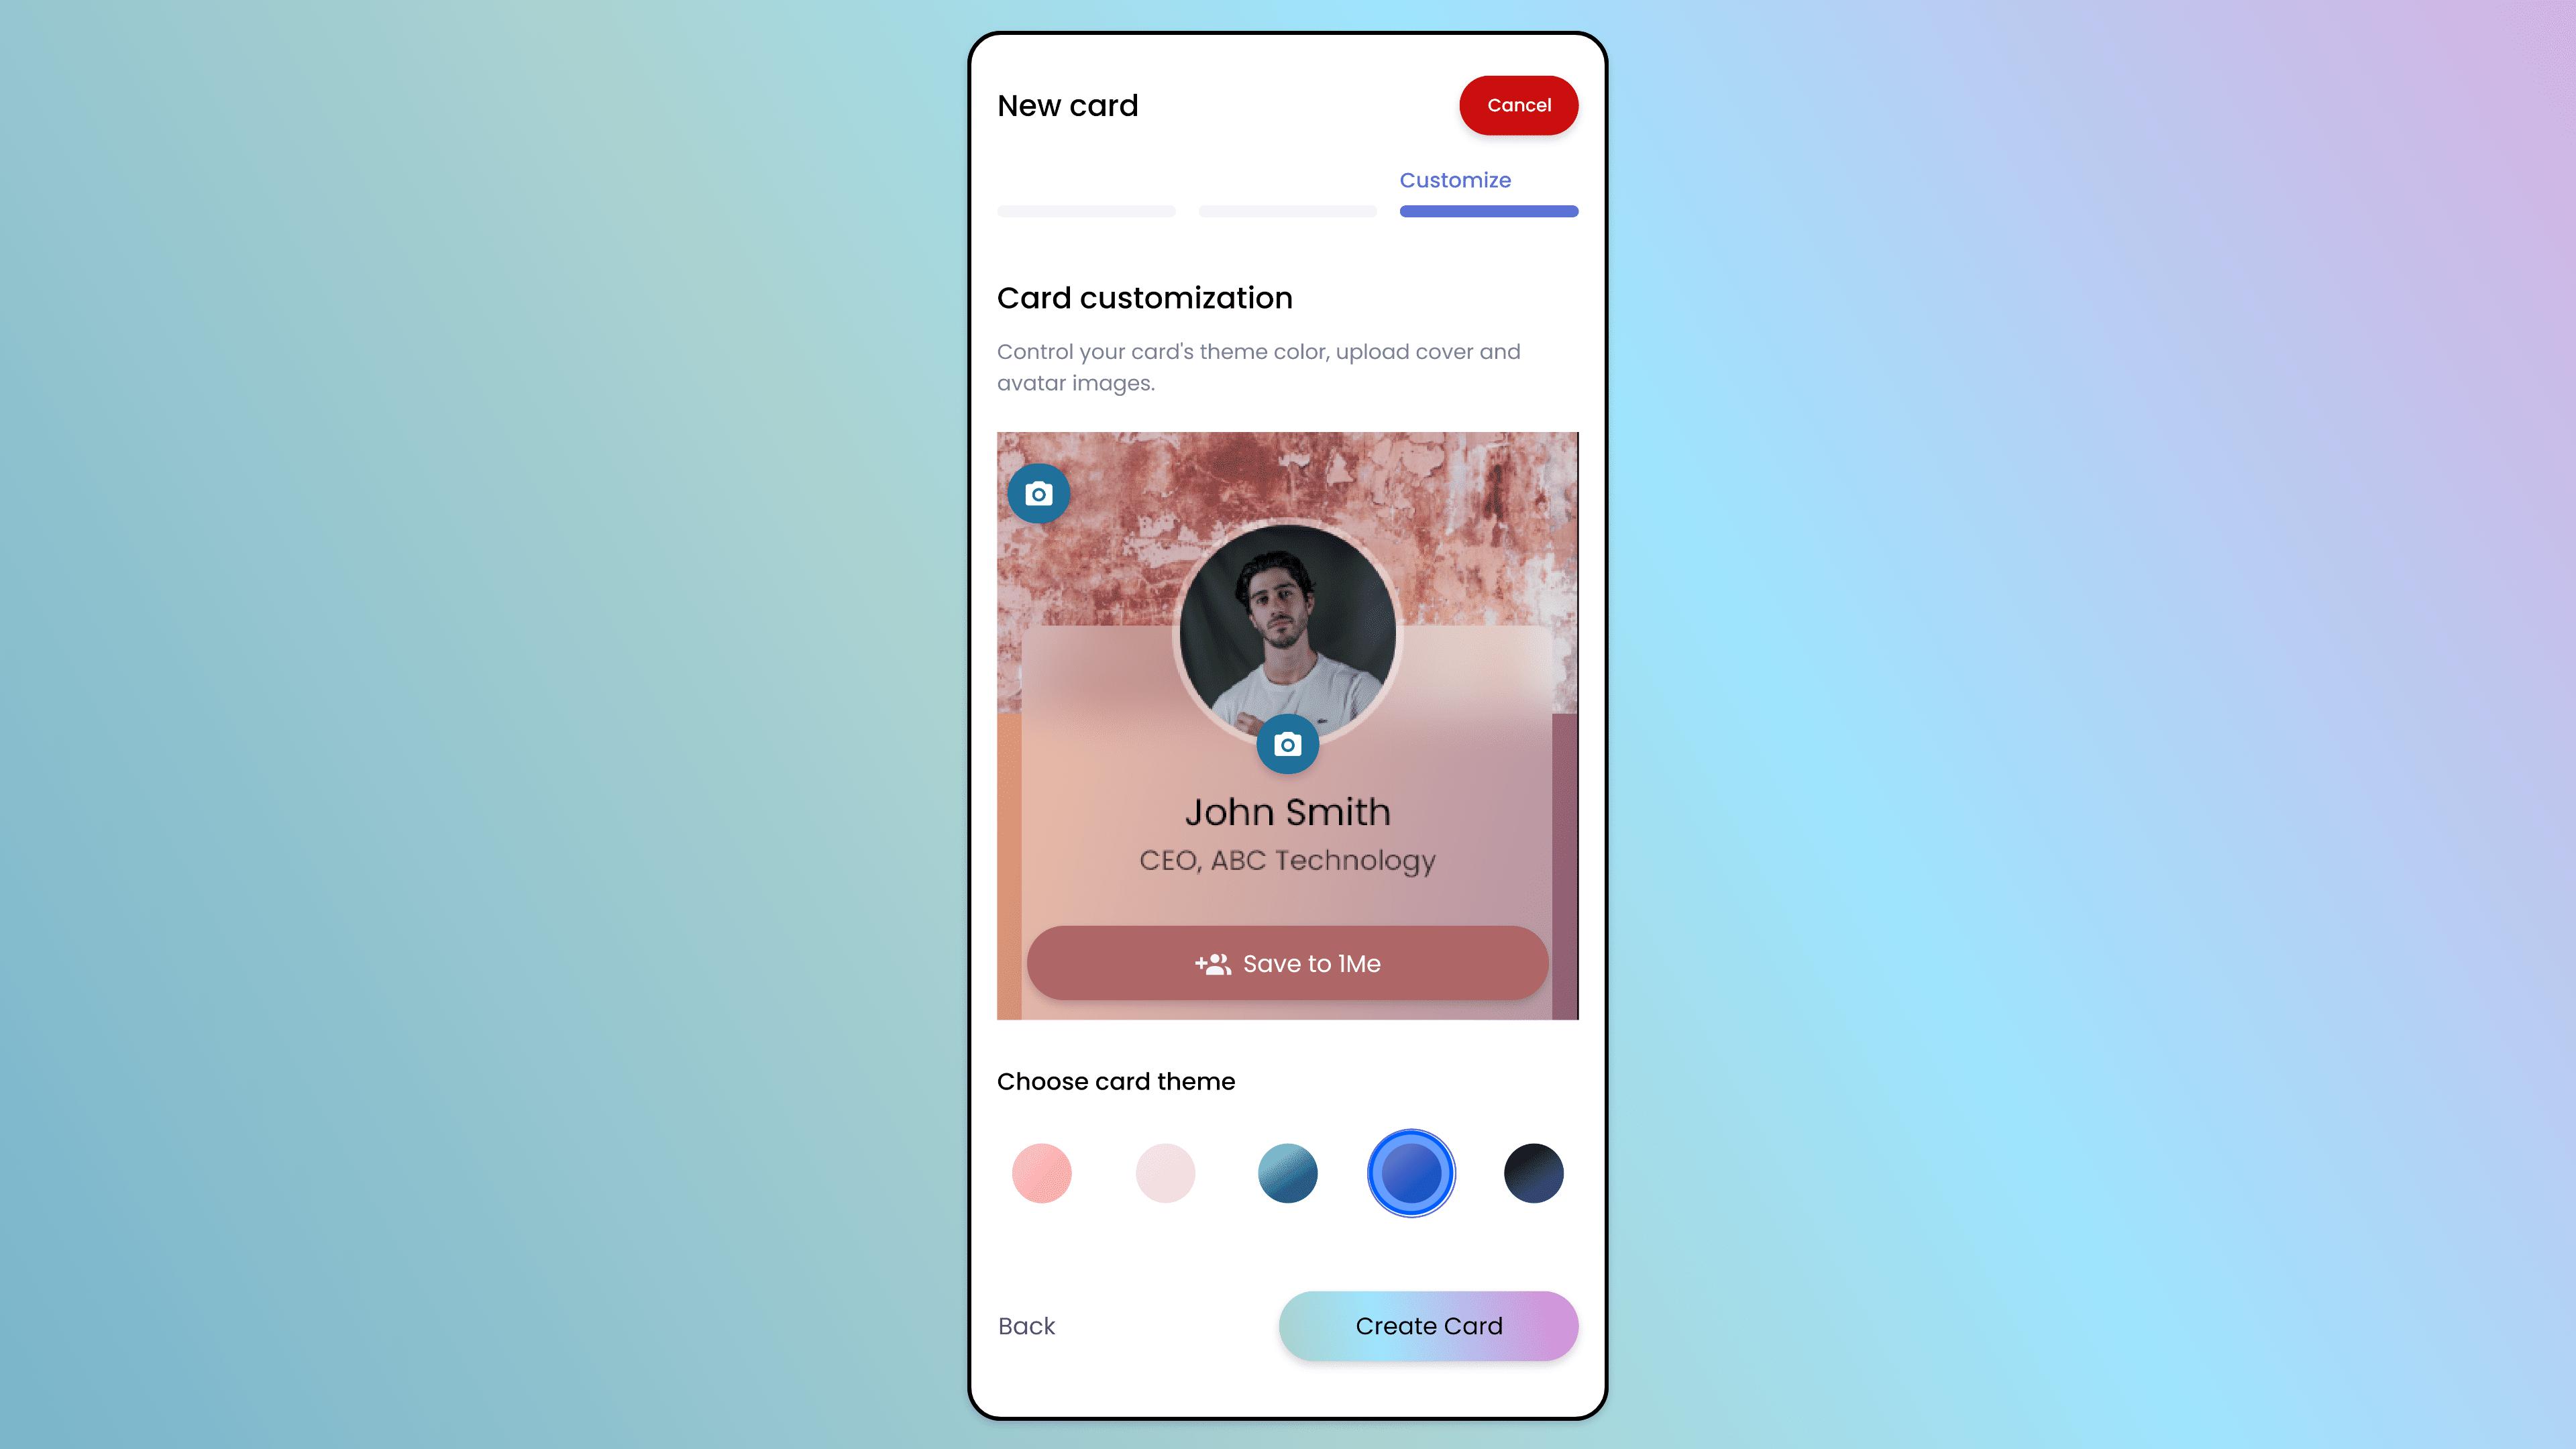
Design & Customization
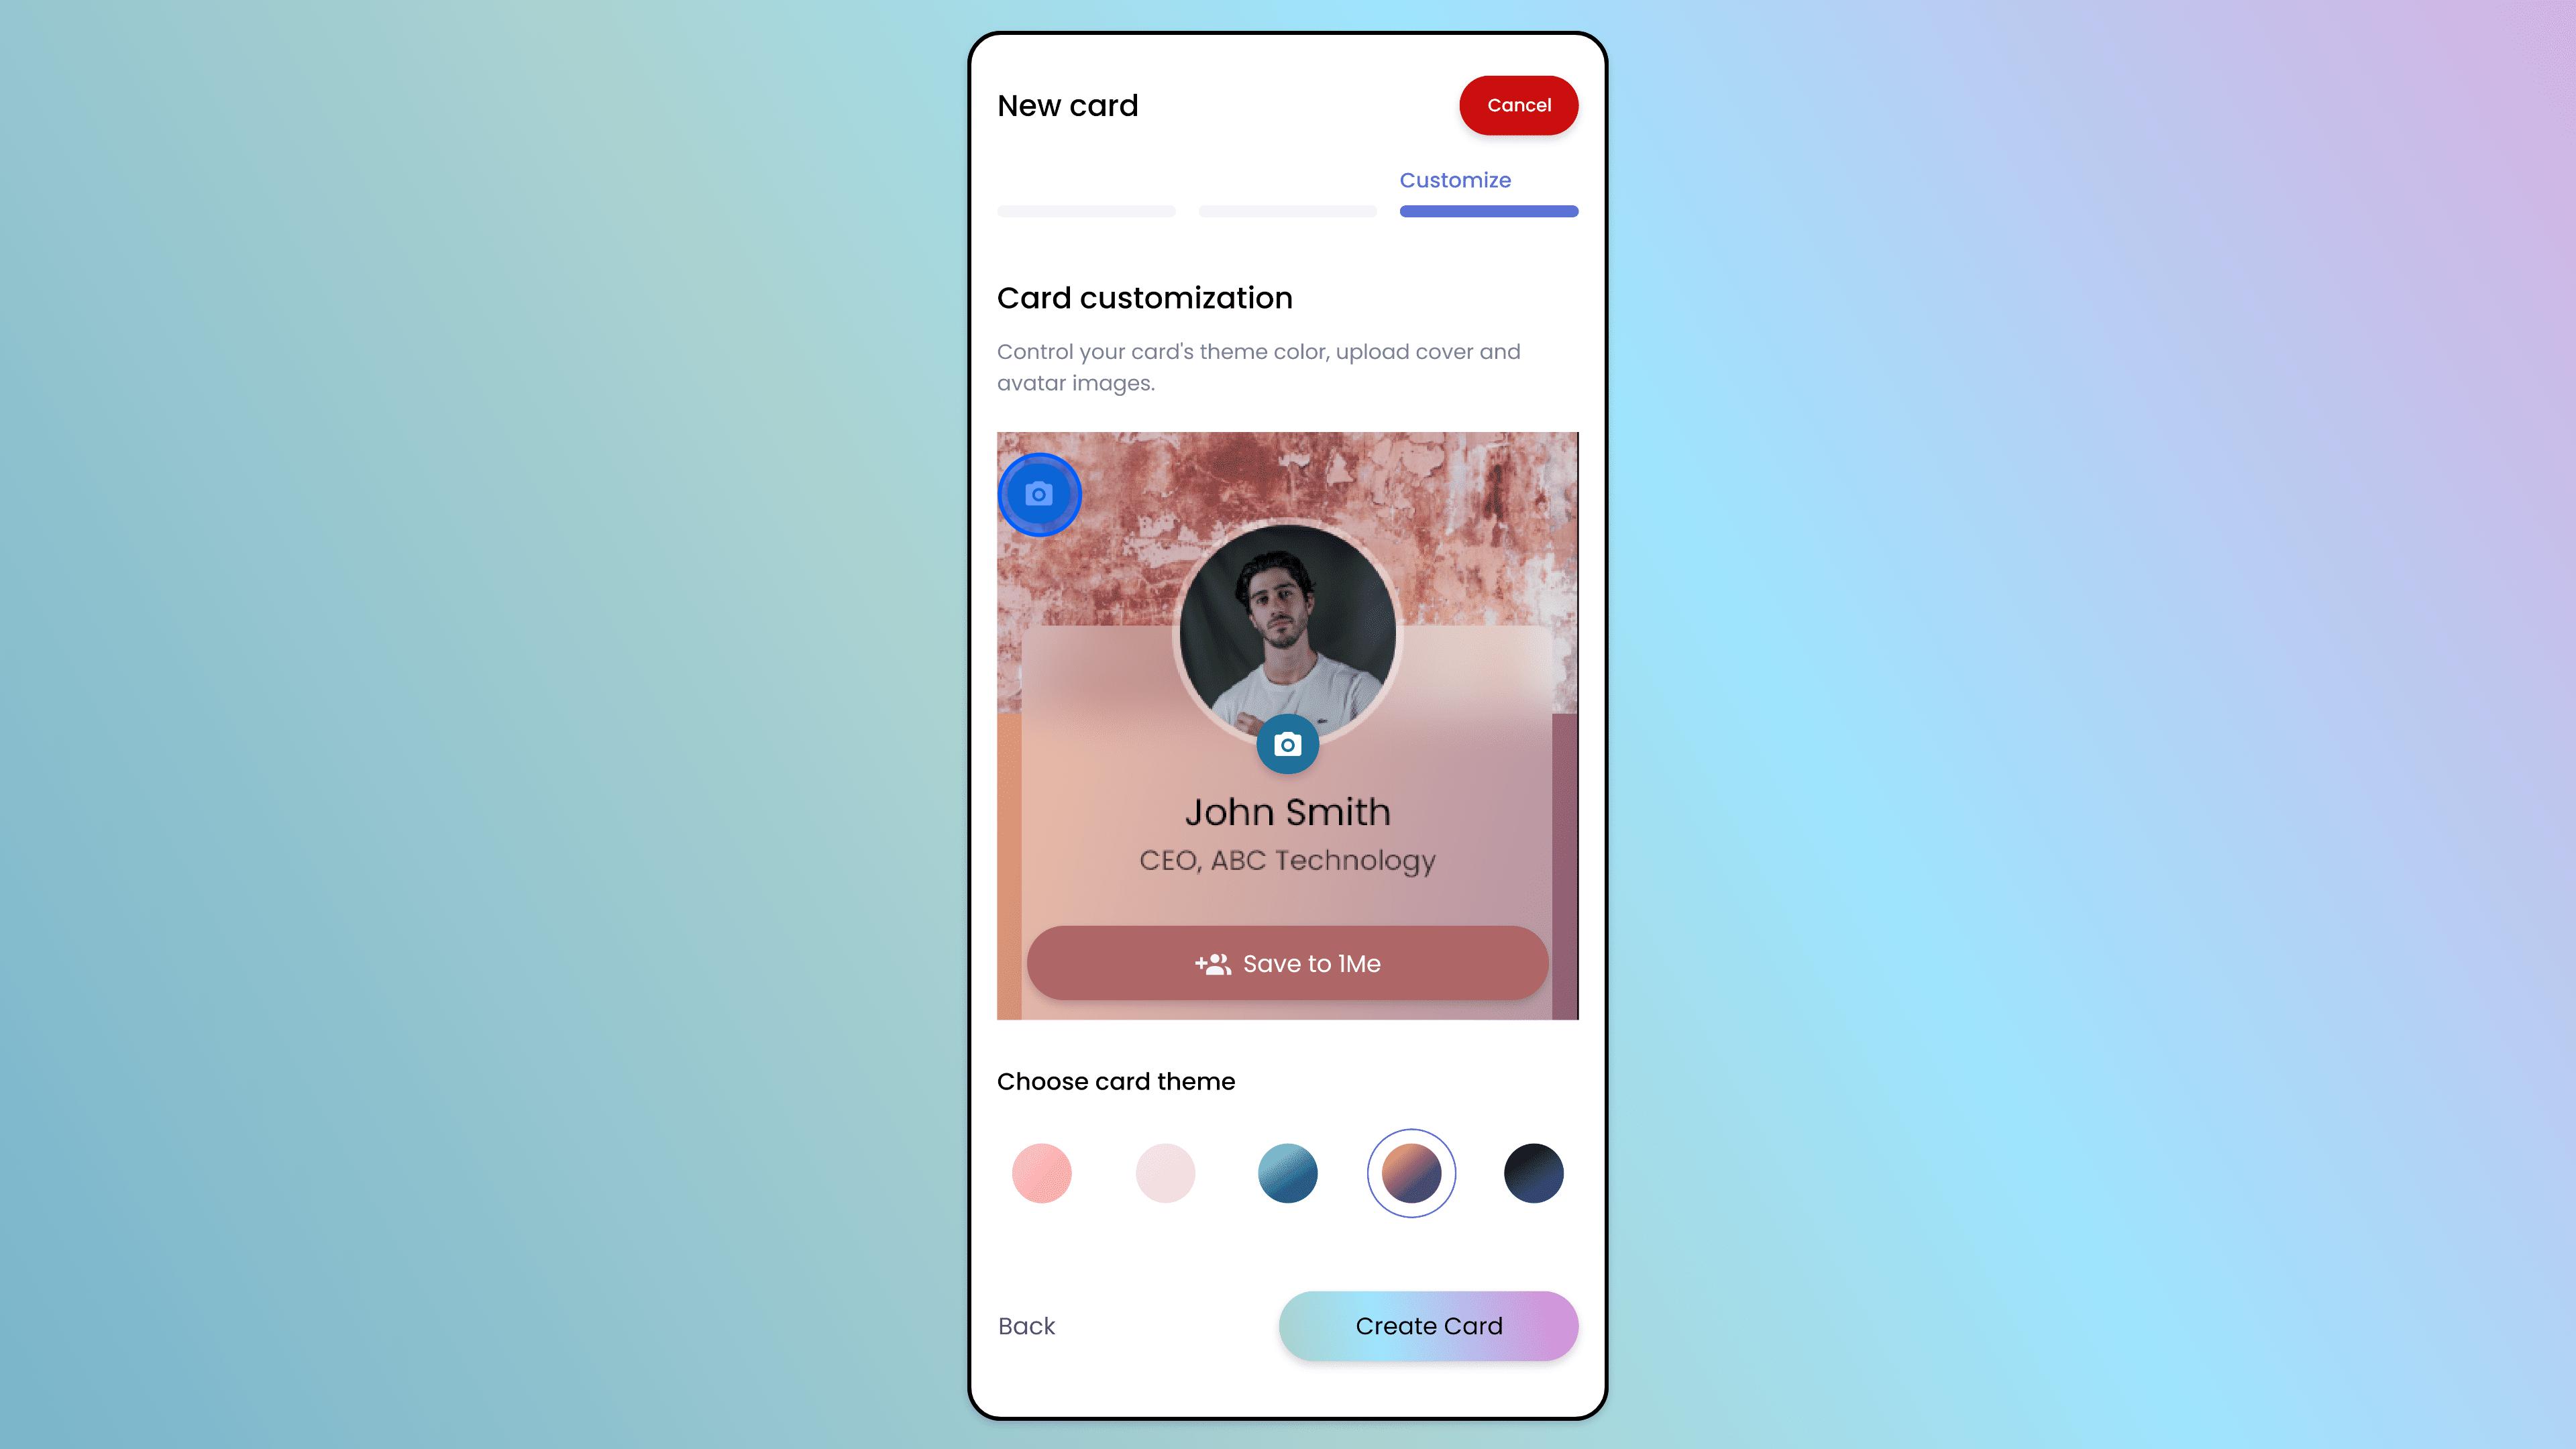
Cover Image (Optional): Tap to upload a background image/banner for your card.
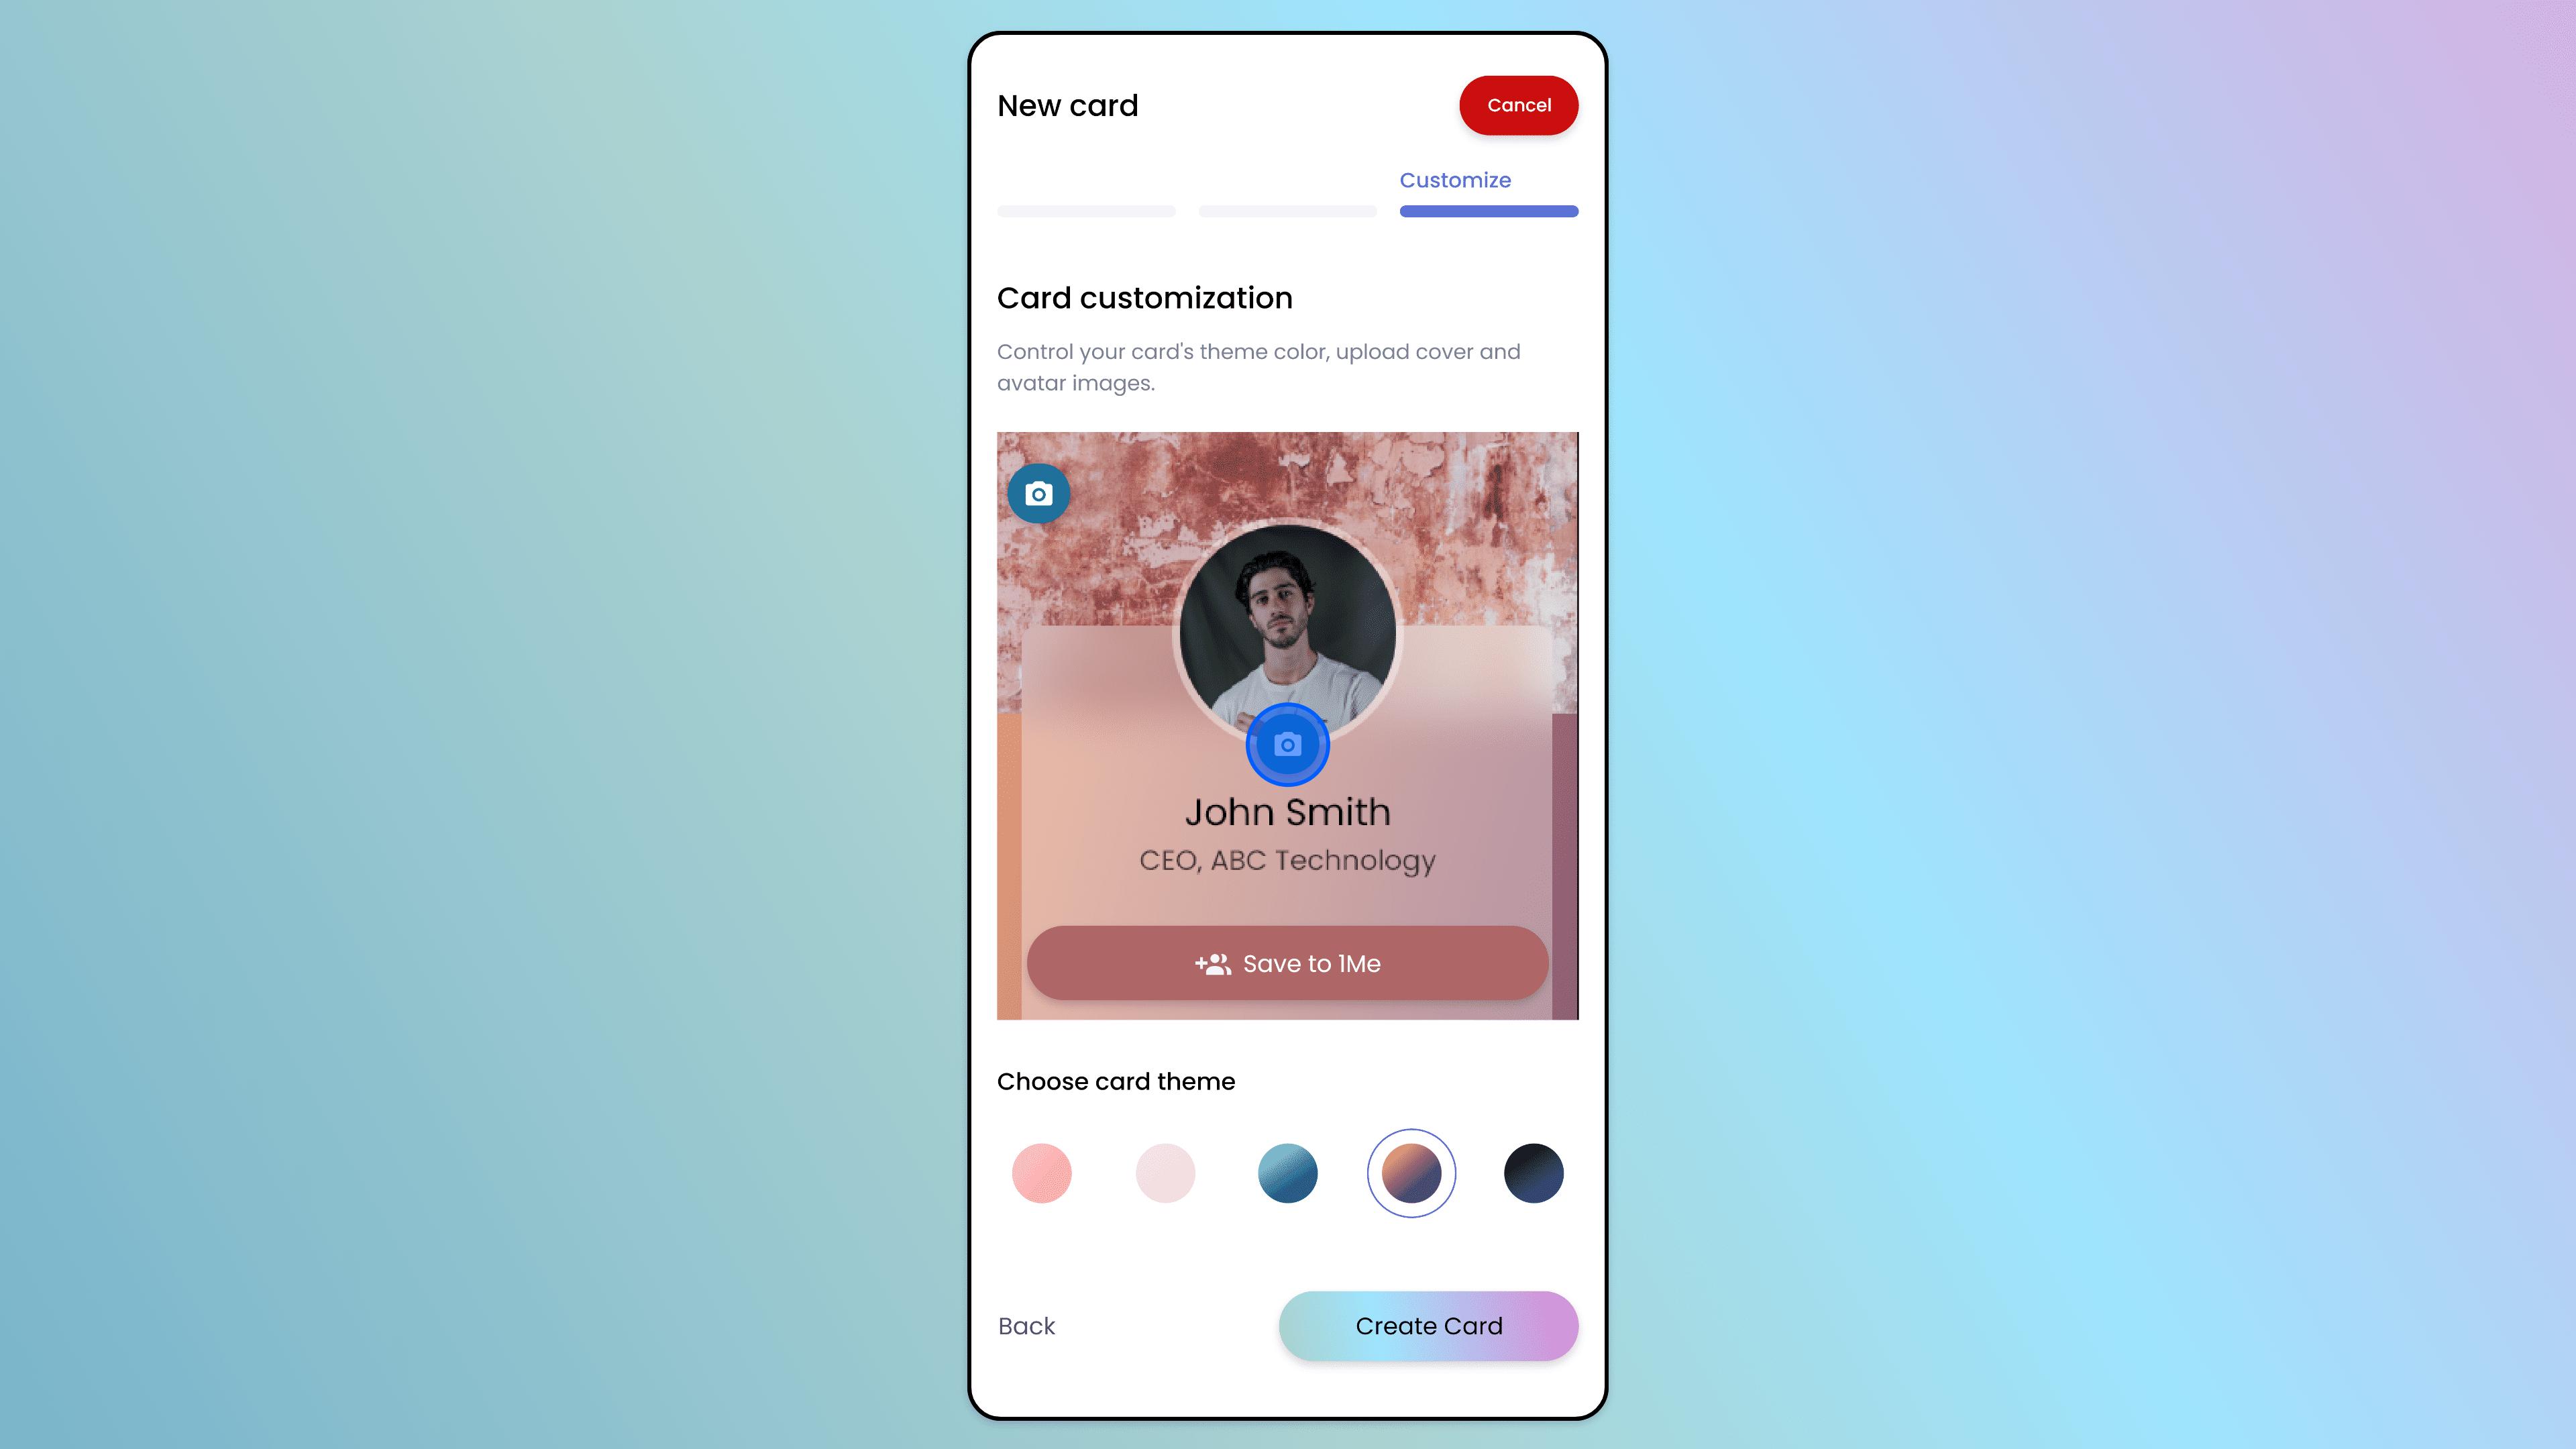
Avatar Image (Optional): Tap to upload your profile picture or logo.
Select Theme: Browse and select a visual theme that suits your style.
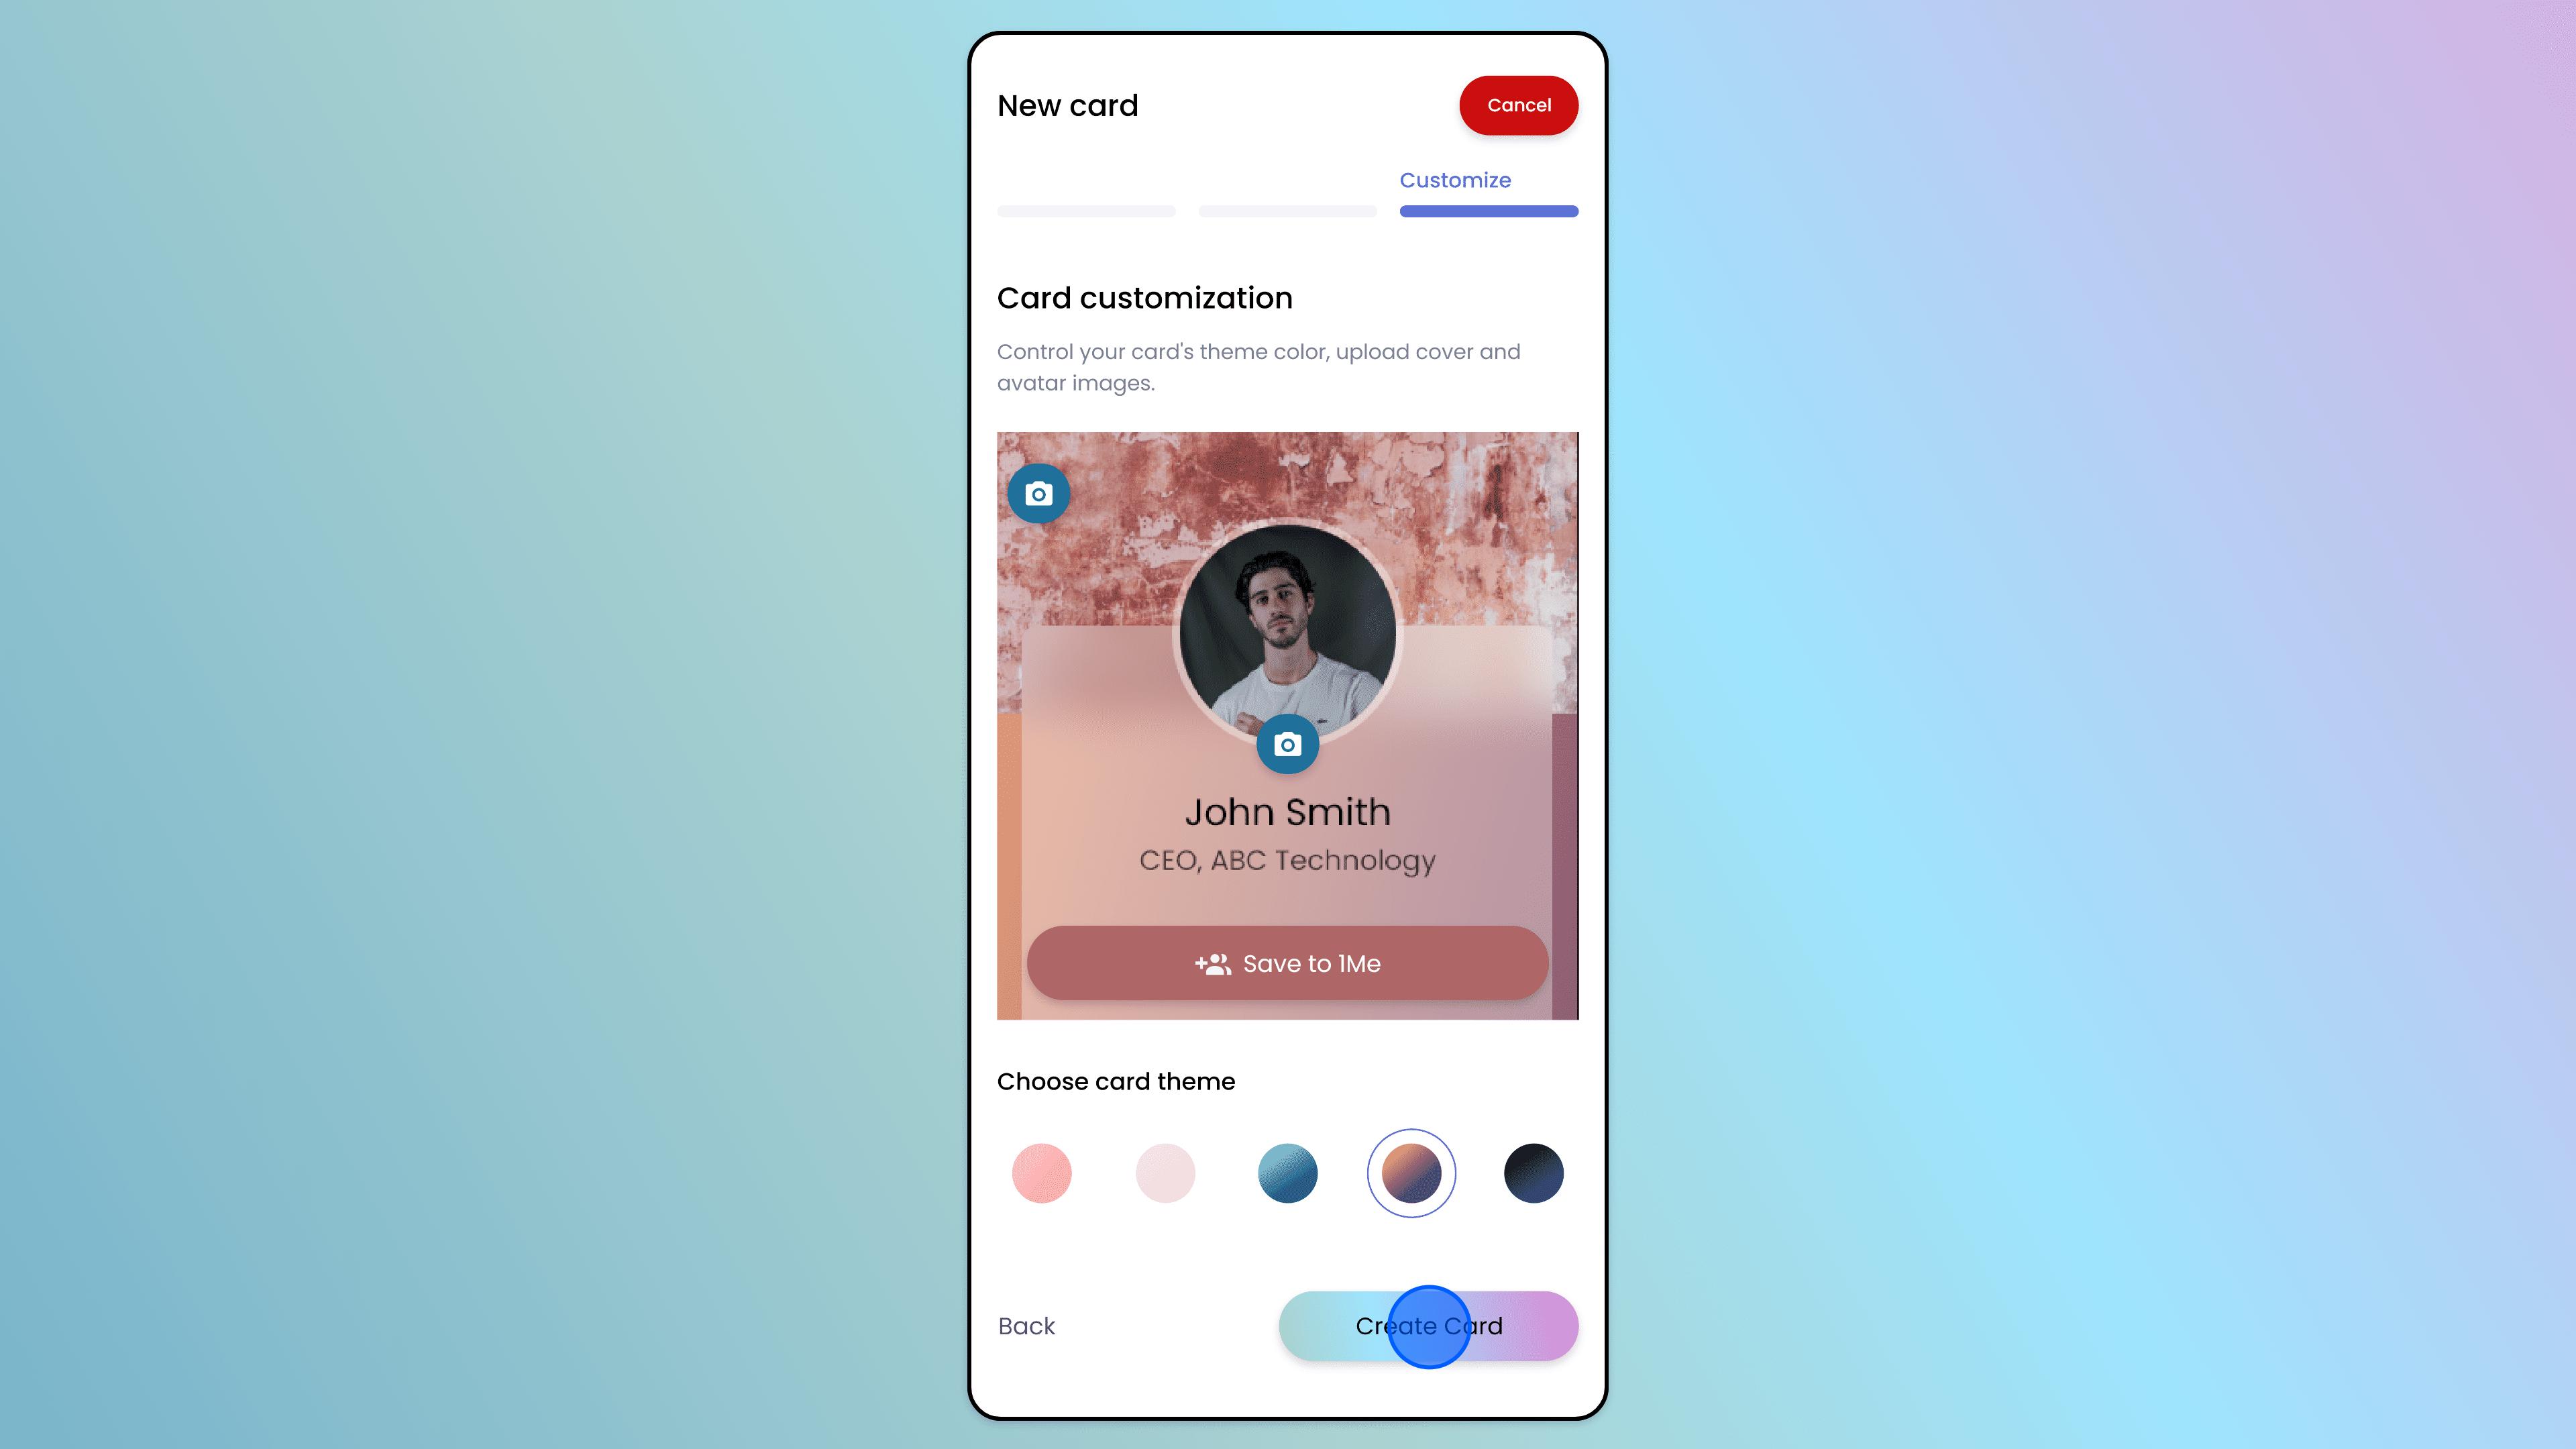
Finalize
Review your card’s look and details.
Tap the "Create Card" button to save it.
Success! Your new card is now active and appears in your card list. You can tap on it to view, edit, or share it immediately.
Walkthrough · 14 steps
Create card
Still stuck? Chat with us, send us a message or report an issue.